
The Only Beginner Flash Photography Setup Guide You Need for 2026: Skip the Studio, Start Shooting
With the 2026 wedding season hitting record booking numbers and portrait photographers doubling their rates for “natural-looking flash” work, there’s never been more pressure to master artificial light. But here’s what most beginners don’t realize: you don’t need a $2,000 studio strobe or a dedicated space to create stunning, professional-looking flash photography. You need a system that fits in your camera bag and works anywhere.
This beginner flash photography setup guide is built around exactly that—a portable, sub-$400 flash kit that handles 90% of real-world shooting scenarios. No studio required. No electrical outlets. Just gear you can set up in 90 seconds at a backyard party, a coffee shop corner, or a dimly lit reception hall.
Why 2026 Is the Perfect Year to Start With Flash
Flash technology has finally caught up with mirrorless cameras. The latest TTL (through-the-lens) speedlights from Godox, Profoto’s A-series, and even Canon’s refreshed Speedlite lineup communicate flawlessly with 2026 camera bodies. That means less guessing, fewer blown-out faces, and more keepers from day one.
More importantly, the “flash look” is trending hard right now. Clients in 2026 are specifically requesting that crisp, well-lit editorial style you see in Vogue portrait series and high-end wedding photography. Natural light purists are adding flash to stay competitive. Smartphone shooters are hitting hard limits in low light. If you’re shooting with a dedicated camera, adding flash is the single biggest upgrade you can make—bigger than a new lens, bigger than a body upgrade.
The $387 Starter Kit That Beats Studio Renting
Here’s the exact build I recommend for beginners in 2026, tested across Sony, Canon, Nikon, and Fujifilm systems:
- Godox TT685II-N (or your mount equivalent): $109. The II-series added faster recycle times and a cleaner UI in late 2025. TTL works reliably, manual mode teaches you faster.
- Godox X2T wireless trigger: $59. Essential for off-camera flash. The X2T’s Bluetooth phone control lets you adjust settings without walking back to your light.
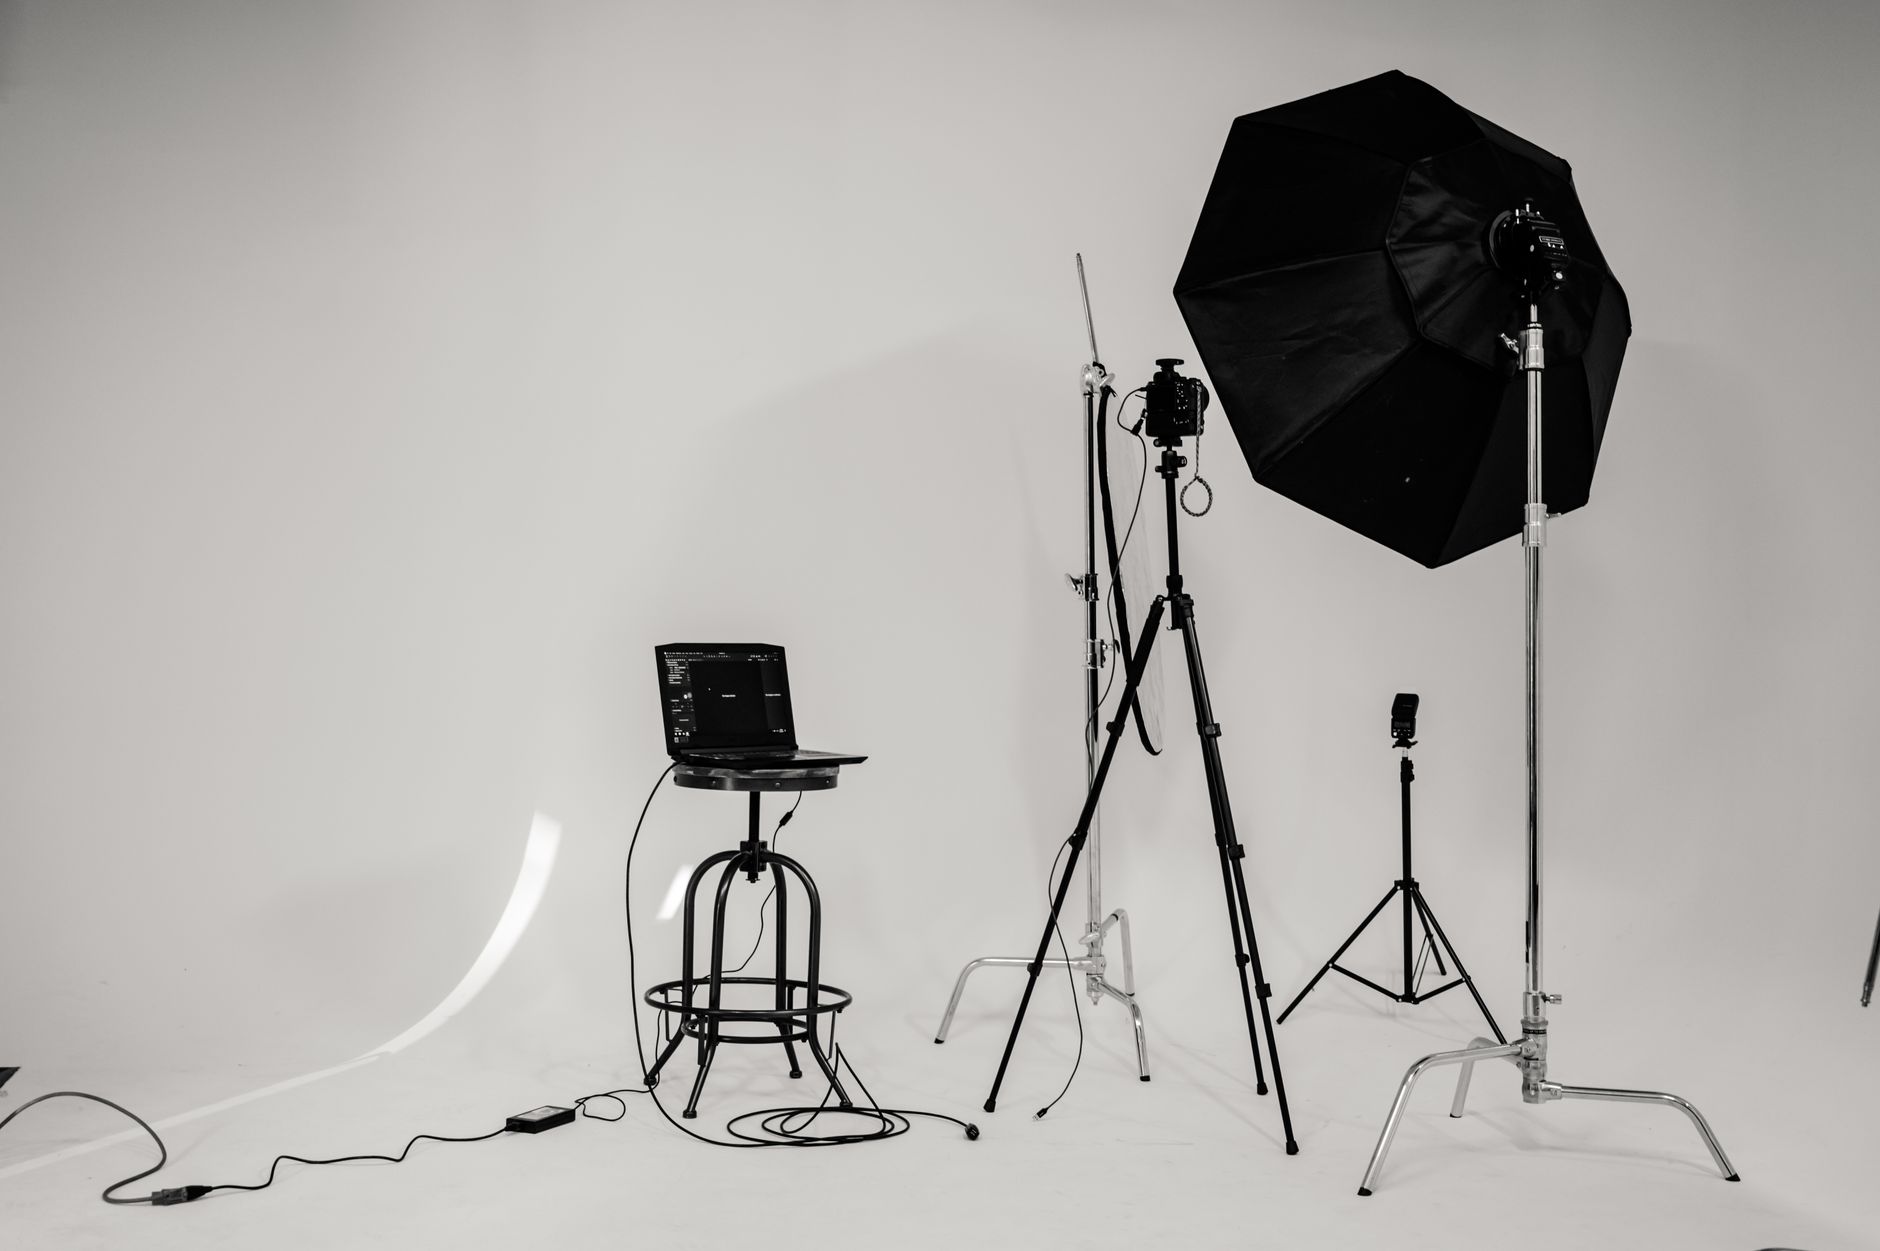
- Neewer 32-inch octagonal softbox with S-type bracket: $45. Softer shadows than bare flash, collapses to 16 inches.
- Light stand, 7-foot collapsible: $28. Aluminum, air-cushioned so it doesn’t slam down if you loosen the knob too fast.
- MagMod MagGrip Basic Kit (starter): $89. Gel holder, grid, and diffuser in one magnetic system. Way faster than velcro or strap-on modifiers.
- Eneloop Pro rechargeable batteries, 4-pack with charger: $32. You’ll burn through alkalines in one event. These handle 500+ flashes per charge.
- Sandbag, empty (fill on location): $12. Non-negotiable safety item. A softbox in wind becomes a sail.
Total: $387. Compare that to $150-300 per day for studio rental in most metro areas.
The Three Flash Setups Every Beginner Should Memorize
Don’t get overwhelmed by Pinterest lighting diagrams. Master these three configurations, and you’ll handle nearly every situation from family gatherings to paid portrait sessions.
Setup 1: On-Camera Bounce (The “Safe” Default)
Point your flash head at a white ceiling or wall behind you, 45 degrees. Set TTL exposure compensation to -0.7. This creates soft, directional light that doesn’t scream “I used flash.” Perfect for events, documentary moments, and anywhere you need to move fast. The ceiling becomes your massive softbox.
Pro tip for 2026: Many newer venues have dark wood or colored ceilings. Carry a white foam core board (22×28 inches, $4 at any dollar store) and have an assistant or clamp hold it where you need bounce. Problem solved.
Setup 2: 45-Degree Off-Camera Key Light (The “Portrait” Look)
Place your softbox 45 degrees to your subject’s left or right, slightly above eye level, 3-4 feet away. Trigger with your X2T. Start at 1/16 power in manual mode, adjust from there.
This is the classic Rembrandt pattern. One side of the face catches the light, the other falls into shadow with a small triangle of light on the cheek. It’s flattering on every face shape, minimizes skin texture issues, and looks expensive.
Settings starting point: ISO 400, f/2.8, 1/160s. Flash power adjusts to taste. Darker background? Lower ISO or stop down. Brighter? Raise ISO or open up.
Setup 3: Rim Light Separation (The “Pro” Signature)
Add a second flash (your TT685II has a built-in optical slave, or grab a second $109 unit) behind your subject, aimed at their head and shoulders. Use the MagMod grid to keep it tight. Set 2-3 stops below your key light power.
This creates that subtle edge glow that separates subjects from backgrounds. In 2026, it’s the difference between “nice photo” and “who shot this?” It’s how solo photographers compete with studios with multiple assistants.
TTL vs. Manual: When to Use What (Finally Explained)
Every beginner gets stuck here. Here’s the actual decision tree working pros use in 2026:
Use TTL when: Your subject-to-flash distance changes constantly (events, kids running, moving through a venue). Let the camera meter flash output in real-time. Dial in -0.7 to -1.3 exposure compensation to avoid that “flashed” over-brightness.
Use manual when: Your subject stays put (portraits, product shots, headshots). You set the power, it stays consistent. More reliable, more predictable, and you actually learn how light works instead of letting the camera guess.
The 2026 hybrid approach: Start in TTL. Note what power the camera selected. Switch to manual and set that same power. Now you have consistency and you know your baseline. After two months, you’ll set manual power by instinct.
The Five Mistakes That Kill Beginner Flash Work
I’ve taught flash workshops since 2022. These are the errors I see every single session:
- Shooting with the flash head forward. Bare flash is harsh, unflattering, and screams amateur. Bounce or modify, always.
- Forgetting ambient balance. Your flash should blend with room light, not nuke it. Slow your shutter to 1/60s or 1/30s (with steady hands or IBIS) to let background warmth bleed in.
- Standing too far. Light falls off fast. The inverse square law isn’t abstract math—it’s why your subject looks dark when they’re 10 feet from the flash. Move closer, or power up significantly.
- Ignoring color temperature. Flash is daylight-balanced (5500K). Tungsten venues are 3200K. Either gel your flash warm to match, or embrace the contrast intentionally. Accidental orange backgrounds with blue subjects look like mistakes.
- Buying a $600 flash first. The Godox TT685II at $109 does 85% of what a Profoto A10 does at $1,100. Learn on affordable gear. Upgrade when you know exactly what limitation you’re hitting.
Building Your Flash Confidence: A 30-Day Practice Plan
Gear means nothing without repetition. Here’s how to actually get good:
- Week 1: Bounce flash only. Shoot daily. One ceiling bounce photo of anything—your coffee, your pet, a family member. Focus on soft, natural-looking results.
- Week 2: Off-camera single light. One portrait per day. Same 45-degree setup. Vary distance and power. Study the shadow pattern.
- Week 3: Add ambient balance. Shoot in progressively darker spaces. Learn to drag your shutter without motion blur ruining everything.
- Week 4: Two-light setup. Rim light addition. This is where your work starts looking like it belongs in a portfolio.
By day 30, you’ll have shot 120+ deliberate flash photos. Most beginners shoot zero organized practice frames and wonder why they’re not improving.
Your Next Step: Start With One Light Today
This beginner flash photography setup guide isn’t about collecting gear—it’s about building a repeatable, portable lighting system that earns its place in your bag. The $387 kit above will handle birthday parties, engagement sessions, real estate detail shots, and your first paid portrait gigs.
The photographers thriving in 2026 aren’t the ones with the biggest studios. They’re the ones who can walk into any lighting disaster—dim restaurant, overcast beach at blue hour, sun-drenched patio with harsh shadows—and create something beautiful in minutes.
Buy the TT685II this week. Shoot your first bounce flash tomorrow. By next month, you’ll wonder why you ever feared artificial light.