
Raw Dreamy Photo Editing Presets 2026: The Complete Shoot-to-Edit Workflow for Ethereal Images
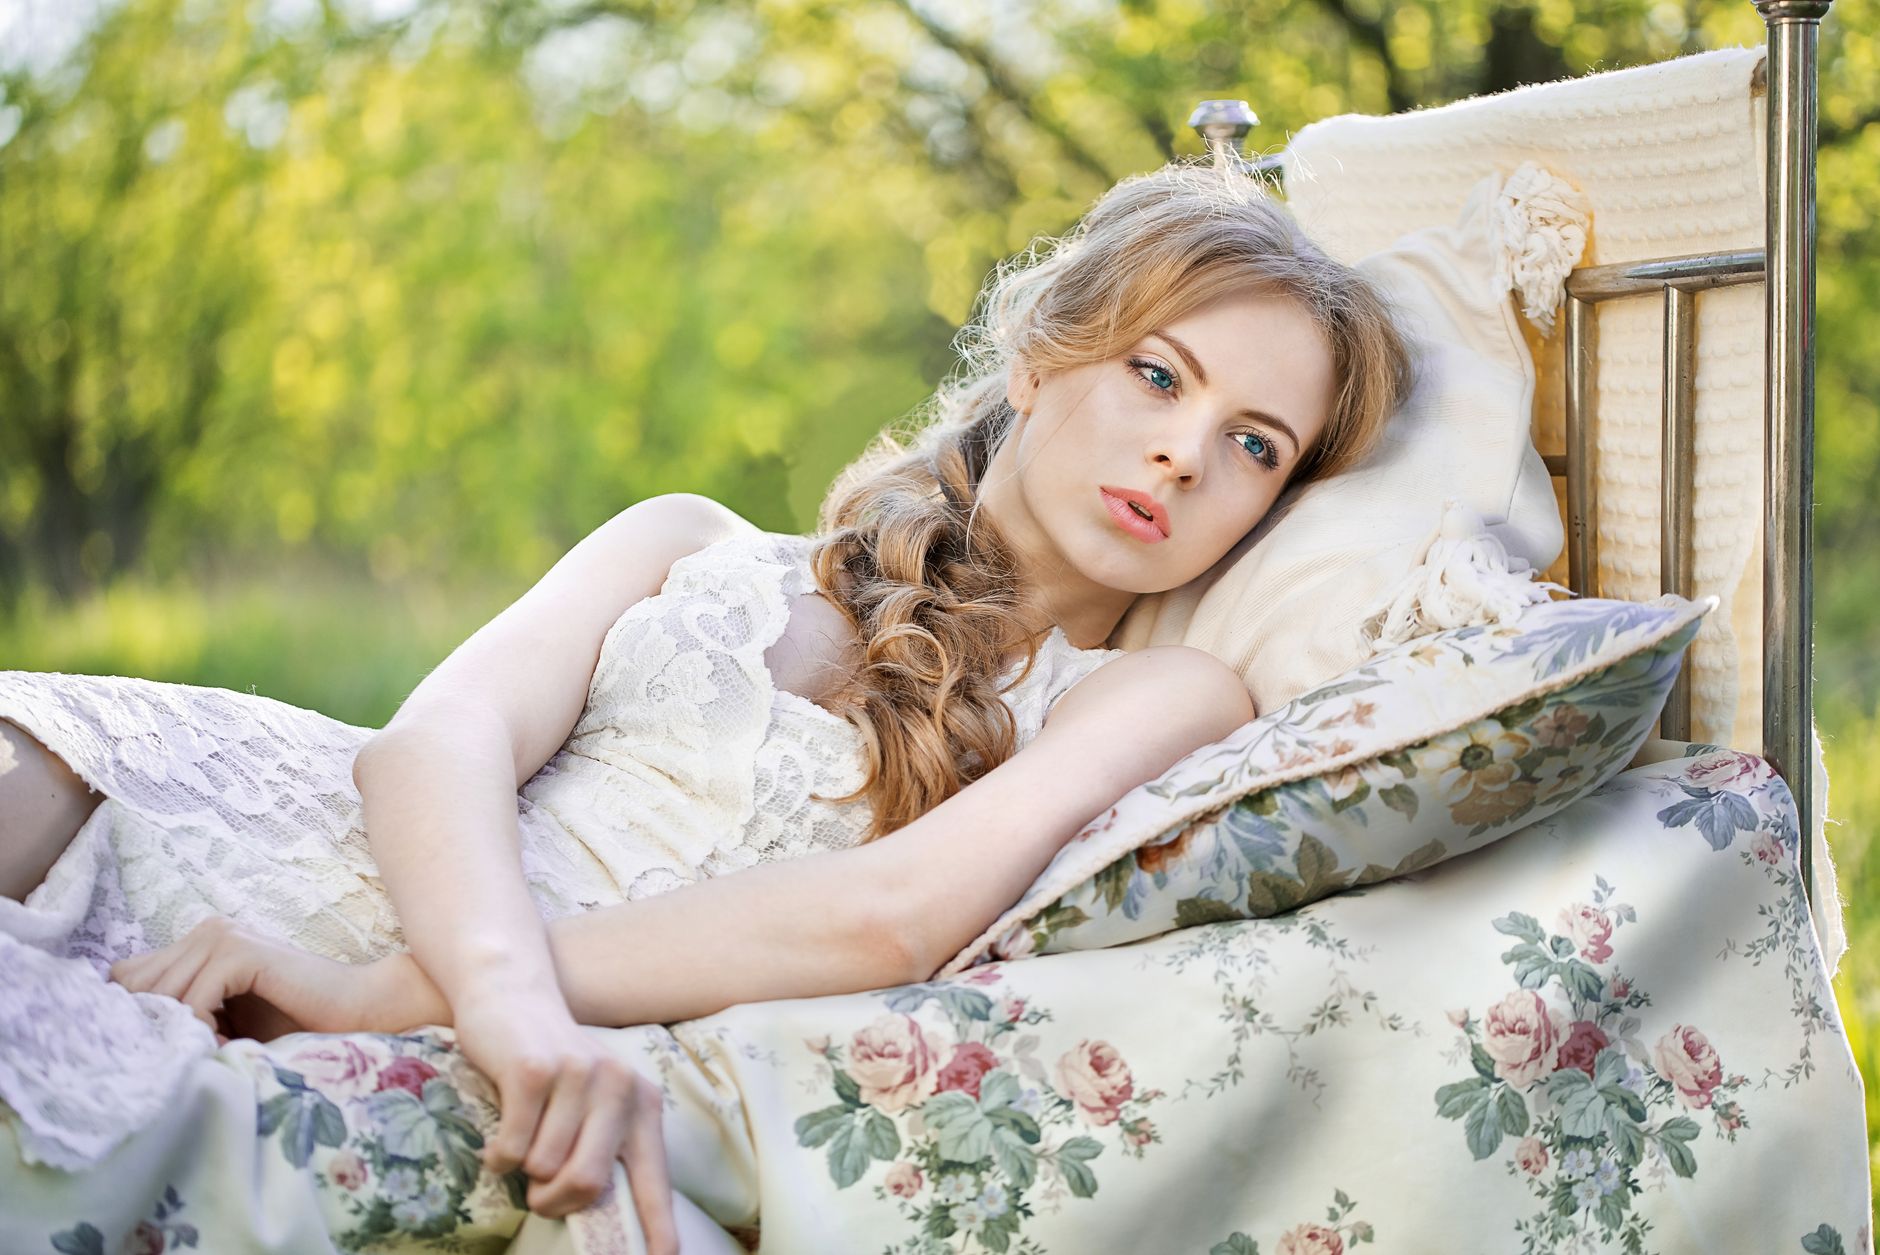
With PetaPixel’s “40 Tips to Take Better Photos in 2026” dominating photography conversations this month, one technique keeps surfacing in unexpected places: the deliberate pursuit of dreaminess in camera, not just in post. Photographers are finally realizing that the most convincing ethereal images start with intentional raw capture decisions—not just slapping a preset on a poorly exposed file and hoping for magic.
This shift matters because raw dreamy photo editing presets 2026 have evolved dramatically. The best new presets aren’t one-click filters anymore; they’re sophisticated starting points built for photographers who understand how golden hour haze, lens choice, and deliberate overexposure interact with digital editing. Whether you’re shooting maternity portraits, travel scenes, or editorial fashion, the dreamy aesthetic demands a cohesive workflow from shutter click to final export.
Why Raw Files Are Non-Negotiable for Dreamy Edits
JPEGs collapse under the weight of dreamy processing. That soft, glowing look requires aggressive manipulation of highlights, shadows, and color channels—exactly where 8-bit files fall apart.
Raw files preserve the subtle luminance information in blown sky areas and shadow detail in backlit subjects. When you’re building that characteristic hazy lift, you need to pull highlights down while simultaneously lifting blacks and applying split-toning. Raw processing in Lightroom, Capture One, or Luminar Neo handles this gracefully; JPEGs posterize and band almost immediately.
The 2026 advantage: Modern cameras from Sony’s A7RV to Canon’s R6 III capture 14+ stops of dynamic range in raw. This gives you unprecedented flexibility to create that “walking through a memory” feeling without destroying image integrity. Presets designed for 2026 cameras account for these expanded files, with gentler curves that don’t clip prematurely.
Choosing the Right Raw Dreamy Photo Editing Presets 2026
The preset market exploded this year, but quality varies enormously. Here’s how to evaluate before buying:
- Check the before/after on raw files specifically, not processed JPEGs. Many preset sellers cheat with already-optimized images.
- Look for modular systems, not all-in-one looks. The best 2026 preset collections include base tones, haze overlays, grain controls, and color shift options you can mix.
- Verify compatibility with your workflow. Presets built for Lightroom Classic’s new AI masking tools (introduced in the 2025.12 update) won’t function fully in older versions or mobile.
- Test on challenging images first—high contrast midday shots, not perfect golden hour frames. A genuinely useful preset rescues difficult raw files.
Our current favorites for different styles:
- Archetype Flow’s “Somnium” collection — Best for editorial portraits with controlled film grain
- Mastin Labs’ expanded “Ethereal” pack — Exceptional for wedding photographers needing batch consistency
- DVLOP’s collaborative “Soft Science” series — Modular approach letting you build custom dreamy looks from components
Avoid presets promising “AI-powered” dreamy effects that automate everything. The 2026 trend, confirmed by working pros in PetaPixel’s recent roundup, is controlled craft over automation.
The Pre-Preset Shooting Checklist
Dreamy presets fail most often because the original capture fought against the aesthetic. Nail these four elements in-camera:
1. Shoot 1/3 to 2/3 stop over your meter reading The dreamy look requires lifted shadows without muddy blacks. Slight overexposure preserves clean shadow detail while giving you luminous midtones that presets enhance beautifully.
2. Prioritize backlit or diffused frontal light Harsh midday sun creates contrast that fights softness. Golden hour, open shade, or deliberate backlighting (with lens hood removed for controlled flare) gives presets the right raw material.
3. Select lenses with character Vintage lenses, modern lenses with intentional diffusion filters, or even certain “imperfect” optics like the Lensbaby Velvet 56 create optical softness that presets complement rather than replace. The 2026 trend sees photographers pairing $50 thrift-store 50mm lenses with flagship mirrorless bodies for unique rendering.
4. Shoot at wider apertures with intention f/1.4-f/2.8 typically, but consider your subject distance. Extreme close-focus at f/1.2 can obliterate context; the dreamy look usually needs some environmental storytelling.
Building Your Custom Dreamy Workflow
Even purchased presets need personalization. Here’s the 2026 workflow we use for consistent, client-ready ethereal images:
Step 1: Base correction before preset application White balance for skin tone accuracy, not “correct” neutral. Dreamy images often benefit from slight warmth (+200-800K depending on light). Straighten horizon, correct lens distortion, and apply profile corrections if you want cleaner edges.
Step 2: Apply preset at 50-70% opacity Most presets are designed to impress in demos, not serve actual client work. The opacity slider in Lightroom’s preset panel (hold Alt/Option while applying) lets you preview intensity. Start conservative.
Step 3: Local adjustments for subject separation Dreamy presets often flatten dimension. Use AI masking to apply clarity and dehaze selectively to your subject’s eyes, or radial gradients to maintain depth in environmental portraits.
Step 4: Grain and texture calibration The 2026 aesthetic has shifted toward subtle grain over plasticky smoothness. Add grain at 15-25 size, 25-40 amount for that contemporary film-adjacent feel. Consider overlaying scanned film textures from resources like Photofilmsupply for unique character.
Step 5: Export sharpening for intended display Dreamy images need different sharpening for Instagram (slightly more aggressive, as compression kills softness) versus large prints (minimal sharpening, let the paper texture contribute).
Troubleshooting Common Dreamy Edit Failures
Even with quality raw dreamy photo editing presets 2026, these problems persist:
| Problem | Cause | Solution |
|---|---|---|
| Skin looks plastic | Too much clarity reduction globally | Mask subject, apply negative clarity to background only |
| Colors feel muddy | Split toning shadows and highlights too similar | Separate by 30+ hue degrees, reduce saturation |
| Haloing around subjects | Aggressive haze or dehaze | Use local adjustments instead of global |
| Inconsistent batch results | Variable original exposures | Standardize capture, then apply preset |
The “plastic skin” issue particularly exploded in 2026 as presets became more aggressive. The fix is always selective application—presets are starting points, not destinations.
Conclusion
Raw dreamy photo editing presets 2026 represent a maturing aesthetic: photographers moving beyond Instagram-filter superficiality toward intentional, craft-driven ethereality. The PetaPixel tip that resonates most here is number 23 from their 2026 list—“Edit with your final medium in mind.” Dreamy images destined for fine art prints require different handling than social content, and the best presets now acknowledge this with multiple export-optimized versions.
Start with deliberate capture, choose presets designed for genuine raw flexibility, and build a personalized workflow that maintains your creative voice. The dreamy look isn’t about hiding photographic weaknesses behind soft focus anymore—it’s about amplifying emotional resonance through controlled, intentional technical choices. Your raw files contain that potential. The right presets simply help you unlock it faster.