
How to Photograph Birds in Flight: The 2026 Field Guide to Nailing Sharp, Stunning Shots
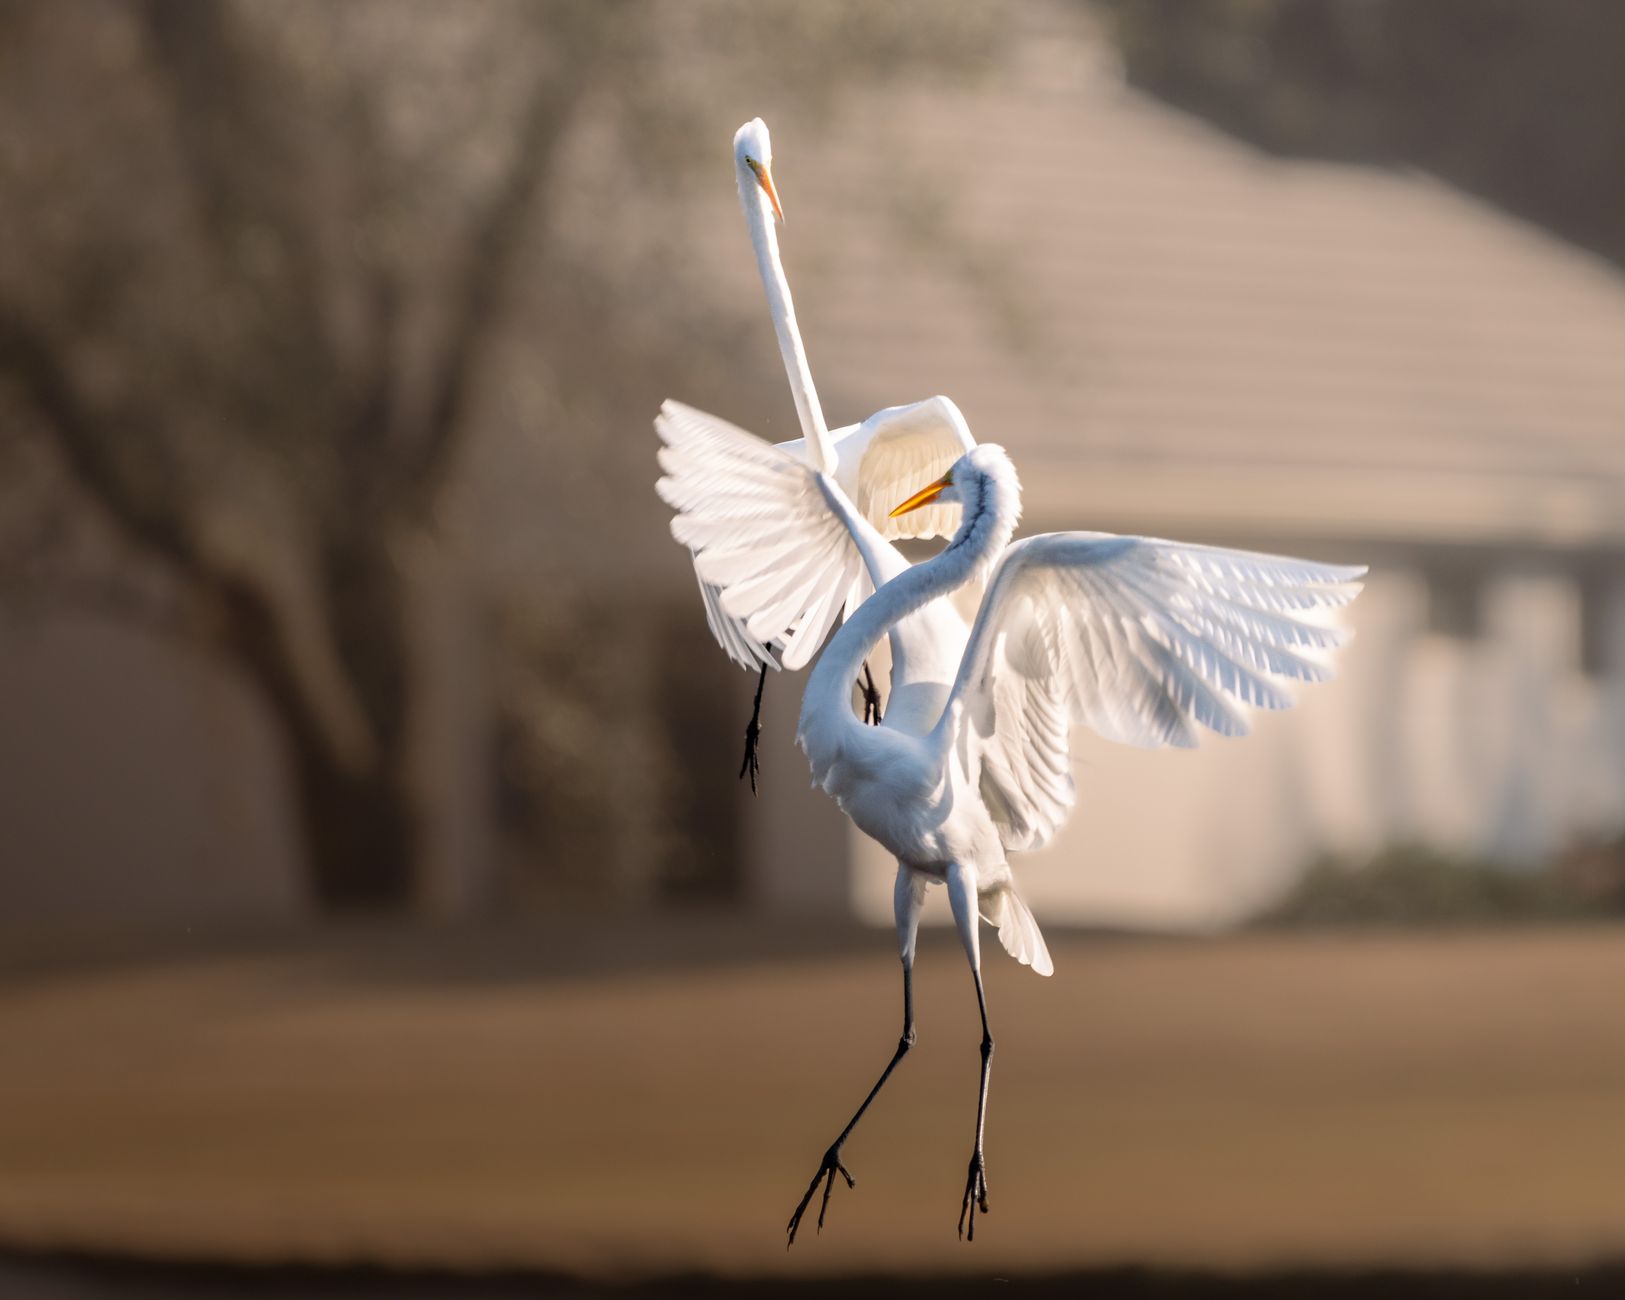
If you’ve spent any time around wildlife photography circles lately, you know the conversation has shifted. With the 2026 wave of AI-powered subject detection now standard in mid-range mirrorless bodies — not just flagship models — more photographers than ever are heading outside to learn how to photograph birds in flight. And honestly? There’s never been a better time to start. Autofocus systems that used to cost $6,500 now ship in cameras under $1,500, which means the technical barrier has dropped dramatically. The skill barrier, though, is still very real.
That’s what this guide is for. Whether you’re tracking ospreys over a lake or trying to freeze a hummingbird mid-hover, these are the field-tested techniques that separate blurry near-misses from frame-worthy keepers.
Dial In Your Camera Settings Before the Bird Shows Up
The single biggest mistake beginners make when learning how to photograph birds in flight is fumbling with settings while the action happens. Birds don’t wait. Here’s your baseline starting point:
- Shutter speed: 1/2000s minimum for large, slow fliers like herons and egrets. Bump to 1/3200s or 1/4000s for ducks, terns, and small songbirds. Hummingbirds? You’re looking at 1/5000s if you want frozen wings.
- Aperture: Shoot wide open or stop down just one click. On a 400mm f/5.6, that means f/5.6 or f/8. You need every photon you can get at those shutter speeds.
- ISO: Use Auto ISO with a ceiling around 6400 on modern bodies. A sharp, slightly noisy image beats a clean, blurry one every single time.
- Drive mode: Continuous high, but consider 15-20 fps rather than maxing out at 30 or 120 fps. You’ll fill your buffer slower and spend less time culling near-identical frames.
Set your camera to Manual mode with Auto ISO. This gives you direct control over shutter speed and aperture — the two variables that matter most — while letting the camera handle exposure compensation through ISO.
Master the Autofocus Setup That Actually Works
Modern bird-detection AF is genuinely impressive, but it’s not magic. You still need to configure it correctly and understand its limits.
Switch to your camera’s animal/bird eye detection mode and pair it with a wide or zone AF area rather than a single point. On Sony bodies, that’s Tracking: Zone. On Canon R-series cameras, use Whole Area AF with animal eye priority. Nikon’s Z8 and Z9 handle this with Wide-area AF combined with subject detection.
Here’s the part most tutorials skip: pre-focus at the distance where you expect the bird to be. If you’re watching an osprey circling at roughly 50 meters, manually focus on something at that distance before it dives. This gives the AF system a massive head start instead of hunting from minimum focus distance.
One more pro tip — assign back-button focus and use the AF-ON button for tracking while keeping your shutter button purely for firing. This separation gives you far more control when a bird changes direction mid-frame.
Panning Technique: The Physical Skill That Matters Most
You can have the best camera on the market, but if your panning is jerky, your hit rate will crater. Smooth panning is a physical skill, and it takes deliberate practice.
Start by finding the bird early with your naked eye, then raise the camera to your face — don’t try to locate birds through a 400mm or 600mm lens. Once you’ve acquired the subject:
- Lock your elbows lightly against your torso for stability
- Rotate from your hips, not your arms — think of your upper body as a single unit
- Lead the bird slightly in the frame, leaving more space in front of it than behind
- Follow through after you press the shutter, just like a golf swing
Practice on common birds first. Gulls at a local park or pigeons in a parking lot are perfect training subjects. They’re abundant, predictable in flight patterns, and completely free. Spend a few sessions just panning without even worrying about composition. Build the muscle memory first.
Read Bird Behavior to Anticipate the Shot
The best bird-in-flight photographers aren’t just technicians — they’re amateur ornithologists. Understanding behavior lets you position yourself before the action happens.
Wind direction matters enormously. Birds almost always take off and land into the wind. Position yourself so the wind is at your back, and you’ll get front-lit shots of birds flying toward you or across your frame.
Watch for pre-flight cues. Many large birds — herons, hawks, eagles — defecate right before takeoff. Raptors often bob their heads or shift their weight. Shorebirds stretch their wings. These micro-behaviors give you a two-to-three-second warning, which is all you need.
Feeding patterns are also gold. Kingfishers return to the same perch repeatedly. Terns hover before plunging. Ospreys circle before diving. Learn the pattern, pre-focus on the zone, and wait. Patience isn’t just a virtue in bird photography — it’s the entire strategy.
Light, Backgrounds, and Composition in the Air
Technical sharpness is only half the equation. The images that stop people mid-scroll have something more: clean backgrounds and beautiful light.
Shoot during the first and last two hours of daylight whenever possible. Low-angle light illuminates the underside of wings, creates catchlights in eyes, and adds warmth that midday sun simply can’t match. Overcast days are actually excellent for white birds — egrets and gulls — because you avoid blown highlights on white feathers.
For backgrounds, position yourself so the bird flies against distant trees, water, or sky rather than cluttered branches. A slightly longer walk to a better vantage point is always worth it. If the background is far enough away, even f/5.6 will render it as a smooth wash of color.
Compositionally, resist the urge to center every frame. Leave room in the direction of flight. Include the environment occasionally — a hawk silhouetted against a stormy sky tells a richer story than a tight crop on feathers.
Your Next Steps
Learning how to photograph birds in flight is one of the most rewarding skills in all of photography. It combines technical precision, physical coordination, and natural knowledge into a single, addictive challenge. And with 2026’s camera technology doing more of the heavy lifting than ever, your learning curve is shorter than it’s ever been.
Start this weekend. Find a local spot with reliable bird activity — a lake, a marsh, even a beach with gulls. Set your shutter to 1/3200s, open your aperture, turn on bird detection AF, and just practice panning. Your first session will be humbling. Your fifth will be thrilling. And somewhere around your tenth, you’ll capture a frame that makes you understand why so many photographers consider this the ultimate test of skill behind a lens.