
How to Clean Camera Sensor Safely: The 2026 Mirrorless Owner's Definitive Guide
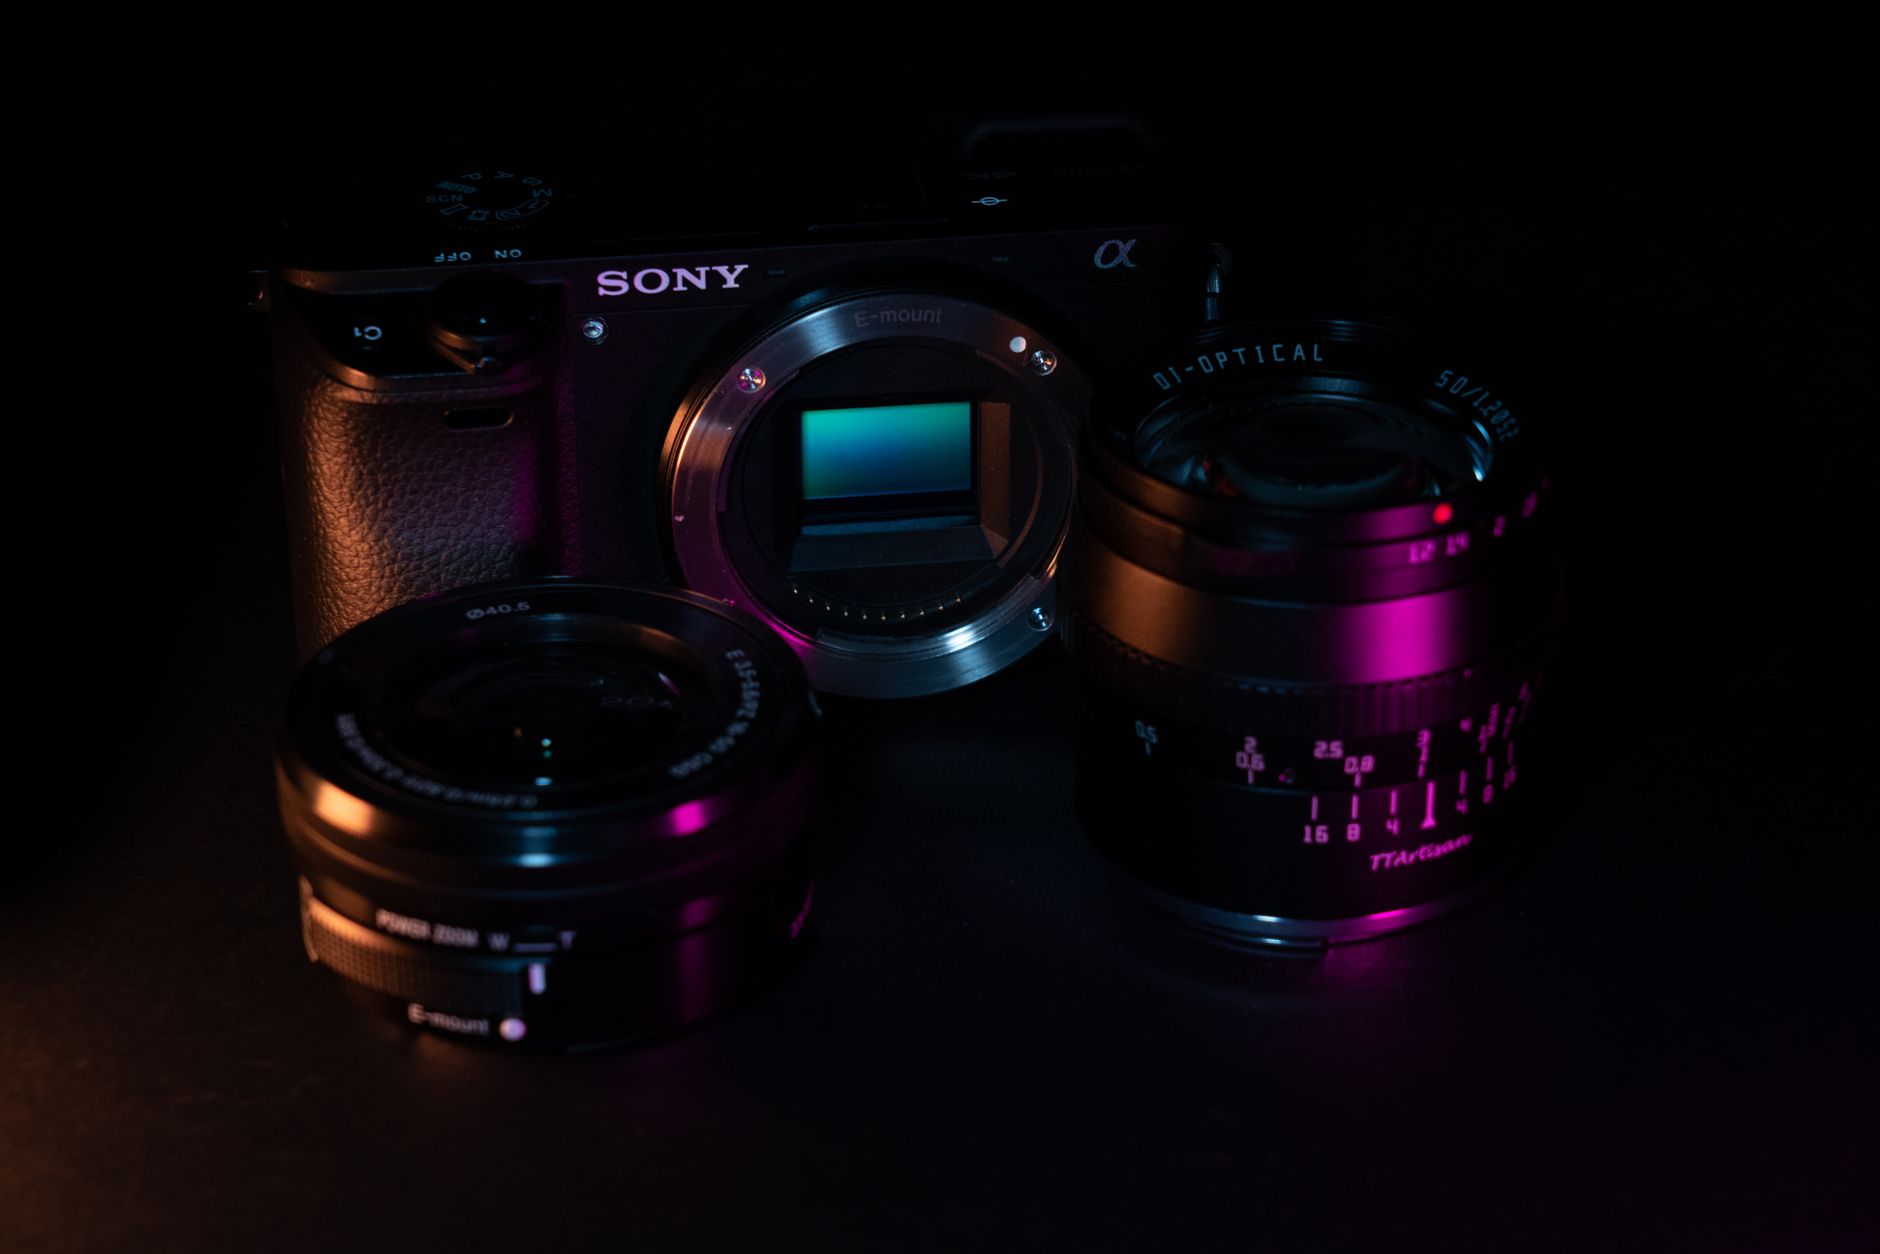
The 2026 camera market has officially tipped: mirrorless bodies now account for over 85% of interchangeable-lens sales, and with that shift comes a hidden headache nobody talks about at checkout. Those exposed sensors—vulnerable the moment you swap lenses—are magnets for dust, pollen, and the occasional stubborn fiber that no blower can touch. If you’ve noticed dark spots ruining your golden hour skies or ghostly smudges across your astrophotography frames, you’re not alone. Learning how to clean camera sensor safely has become the single most-requested maintenance skill in camera shops nationwide, yet most photographers still avoid it until editing becomes a spot-removal nightmare.
This isn’t about babying your gear. It’s about preserving image quality without turning a $2,000 sensor into a very expensive paperweight. Here’s everything you need to know.
Why 2026 Sensors Need Gentler Handling Than Ever
Today’s mirrorless sensors aren’t just exposed—they’re more sophisticated and more fragile than their DSLR predecessors. The 2026 generation of stacked CMOS sensors, found in bodies like the Sony A7R VI and Canon EOS R6 Mark III, pack phase-detect pixels directly on the imaging surface. These microscopic structures can trap debris in ways older sensors never did, and the ultra-thin UV/IR filter glass bonded to the sensor assembly scratches more easily than the thicker filters of DSLR eras.
Manufacturers have quietly responded. Nikon now ships every Z-series body with a sensor shield that closes at power-down, and Fujifilm’s 2026 X-Pro4 introduced a physical curtain—a trend others will follow. But these are partial solutions. The reality? If you shoot in dusty environments, change lenses frequently, or own a body without shielding, manual cleaning remains unavoidable.
The financial stakes have risen too. Out-of-warranty sensor replacement in 2026 runs $400-$800 depending on brand, while professional cleaning services charge $75-$150 per session. Do it yourself safely, and you’re looking at roughly $30 in supplies that last dozens of cleanings.
Essential Tools: What Actually Works in 2026
The cleaning aisle at any major photo retailer is overwhelming. Here’s what you actually need, ranked by necessity:
The non-negotiables:
- Rocket blower (Giottos or VSGO)—never use compressed air, which can propel propellant residue or freeze-damage the sensor coating
- Sensor loupe with 7x magnification and LED illumination (Carson or VisibleDust)—spotting debris your naked eye misses
- Sensor swabs sized precisely to your sensor format: full-frame (24mm), APS-C (16mm), or Micro Four Thirds (12mm)
The conditional additions:
- Sensor cleaning solution—Eclipse Optic Cleaning or VSGO sensor cleaner, never household solvents or isopropyl alcohol above 99%
- Sticky gel stick (Eyelead or similar) for stubborn particles that swabs won’t lift
Skip the “all-in-one” kits with generic swabs. In 2026, sensor tolerances are tighter than ever, and a swab 1mm too wide can drag debris across the frame or contact the sensor housing edges. Buy format-specific from recognized brands: VSGO, Photosol, or SensorKlear.
One critical update for this year: several manufacturers have revised their warranty language to exclude damage from “non-approved cleaning methods.” Translation—use quality tools, document your process, and never touch the sensor with anything not designed for the task.
Step-by-Step: How to Clean Camera Sensor Safely
This workflow prioritizes safety over speed. Rushing is how sensors get scratched.
1. Preparation (5 minutes) Charge your battery to 100%. A power-down mid-cleaning drops the shutter or sensor shield onto your tools with catastrophic results. Enter your camera’s manual cleaning mode—this locks the shutter open or retracts the sensor shield. Work in a dust-controlled space; bathroom after a hot shower works surprisingly well, as steam settles airborne particles.
2. Initial Assessment Remove the lens, power on the cleaning mode, and inspect with your loupe. Identify debris type: dry particles (dust, fibers) or wet contamination (oil, moisture spots). This determines your approach.
3. Dry Cleaning First—Always Hold the camera face-down at 45 degrees. Use your rocket blower with short, angled bursts—never insert the nozzle into the mount cavity. The goal is dislodging particles that gravity can carry away. Check with the loupe; repeat if needed.
4. Wet Cleaning (When Necessary) If spots remain, it’s swab time. Apply 2-3 drops of cleaning solution to a fresh swab—never apply liquid directly to the sensor. Work in one smooth, continuous pass: insert at one edge, drag across with light, even pressure, exit the opposite edge. No back-and-forth. No hesitation. One edge-to-edge stroke per swab side, then discard. A second pass with a fresh swab is acceptable; reusing the same swab is contamination waiting to happen.
5. Verification Shoot a test frame at f/16 against a clear sky or white wall. Review at 100% magnification. Spots visible here that weren’t apparent to the loupe may need professional attention—don’t escalate to aggressive methods.
Common Mistakes That Destroy Sensors in 2026
The forums are littered with horror stories. These are the recurring patterns:
- Using “sensor cleaning” modes without understanding your specific body. Canon’s R-series and Sony’s newer bodies use electromagnetic shutters that can be damaged by excessive vibration. Know your manual.
- Reusing swabs to “save money.” A $2 swab becomes a $400 mistake when embedded grit scratches the low-pass filter.
- Cleaning too frequently. Minor dust rarely impacts images below f/8. If you can’t see it in normal shooting, leave it.
- Ignoring environmental factors. Desert shooters, coastal photographers, and pollen-season landscape workers need more frequent attention—but also more caution, as these particles can be abrasive.
A notable 2026 development: several third-party repair shops report increased sensor coating damage from “green” cleaning solutions marketed as eco-friendly alternatives. These often lack the controlled evaporation rate of established formulas, leaving residue that attracts more debris. Stick with proven chemistry.
When to Stop and Call a Professional
There’s no shame in tapping out. Seek professional cleaning if you encounter:
- Oil spots appearing as irregular, rainbow-edged smears—these indicate shutter mechanism lubricant migration, a warranty repair issue
- Scratches on the sensor surface visible under loupe inspection
- Stubborn particles after two wet-cleaning attempts—likely adhered by electrostatic charge or humidity, requiring specialized ionized tools
- Any uncertainty about your specific camera’s cleaning mode operation
The 2026 professional landscape has shifted. Many manufacturers now offer mail-in sensor cleaning at authorized service centers with 48-hour turnaround—competitive with local shops and preserving warranty coverage. For Fujifilm and Sony owners, this has become the recommended path for first cleanings, with technicians documenting baseline sensor condition.
Conclusion
Mastering how to clean camera sensor safely is one of the highest-leverage skills any 2026 photographer can develop. With mirrorless sensors permanently exposed and repair costs climbing, the alternative—ignoring dust until it destroys images or forces professional intervention—is simply poor gear stewardship.
The key principles haven’t changed: dry before wet, gentle before aggressive, and when in doubt, stop. Invest in proper tools once, follow a methodical workflow, and you’ll maintain the image quality your camera was engineered to deliver. Your future self, staring at a perfectly clean Milky Way frame instead of a constellation of dark spots, will thank you.