
Best Camera Settings for Northern Lights Photography: The 2026 Aurora Season Field Guide
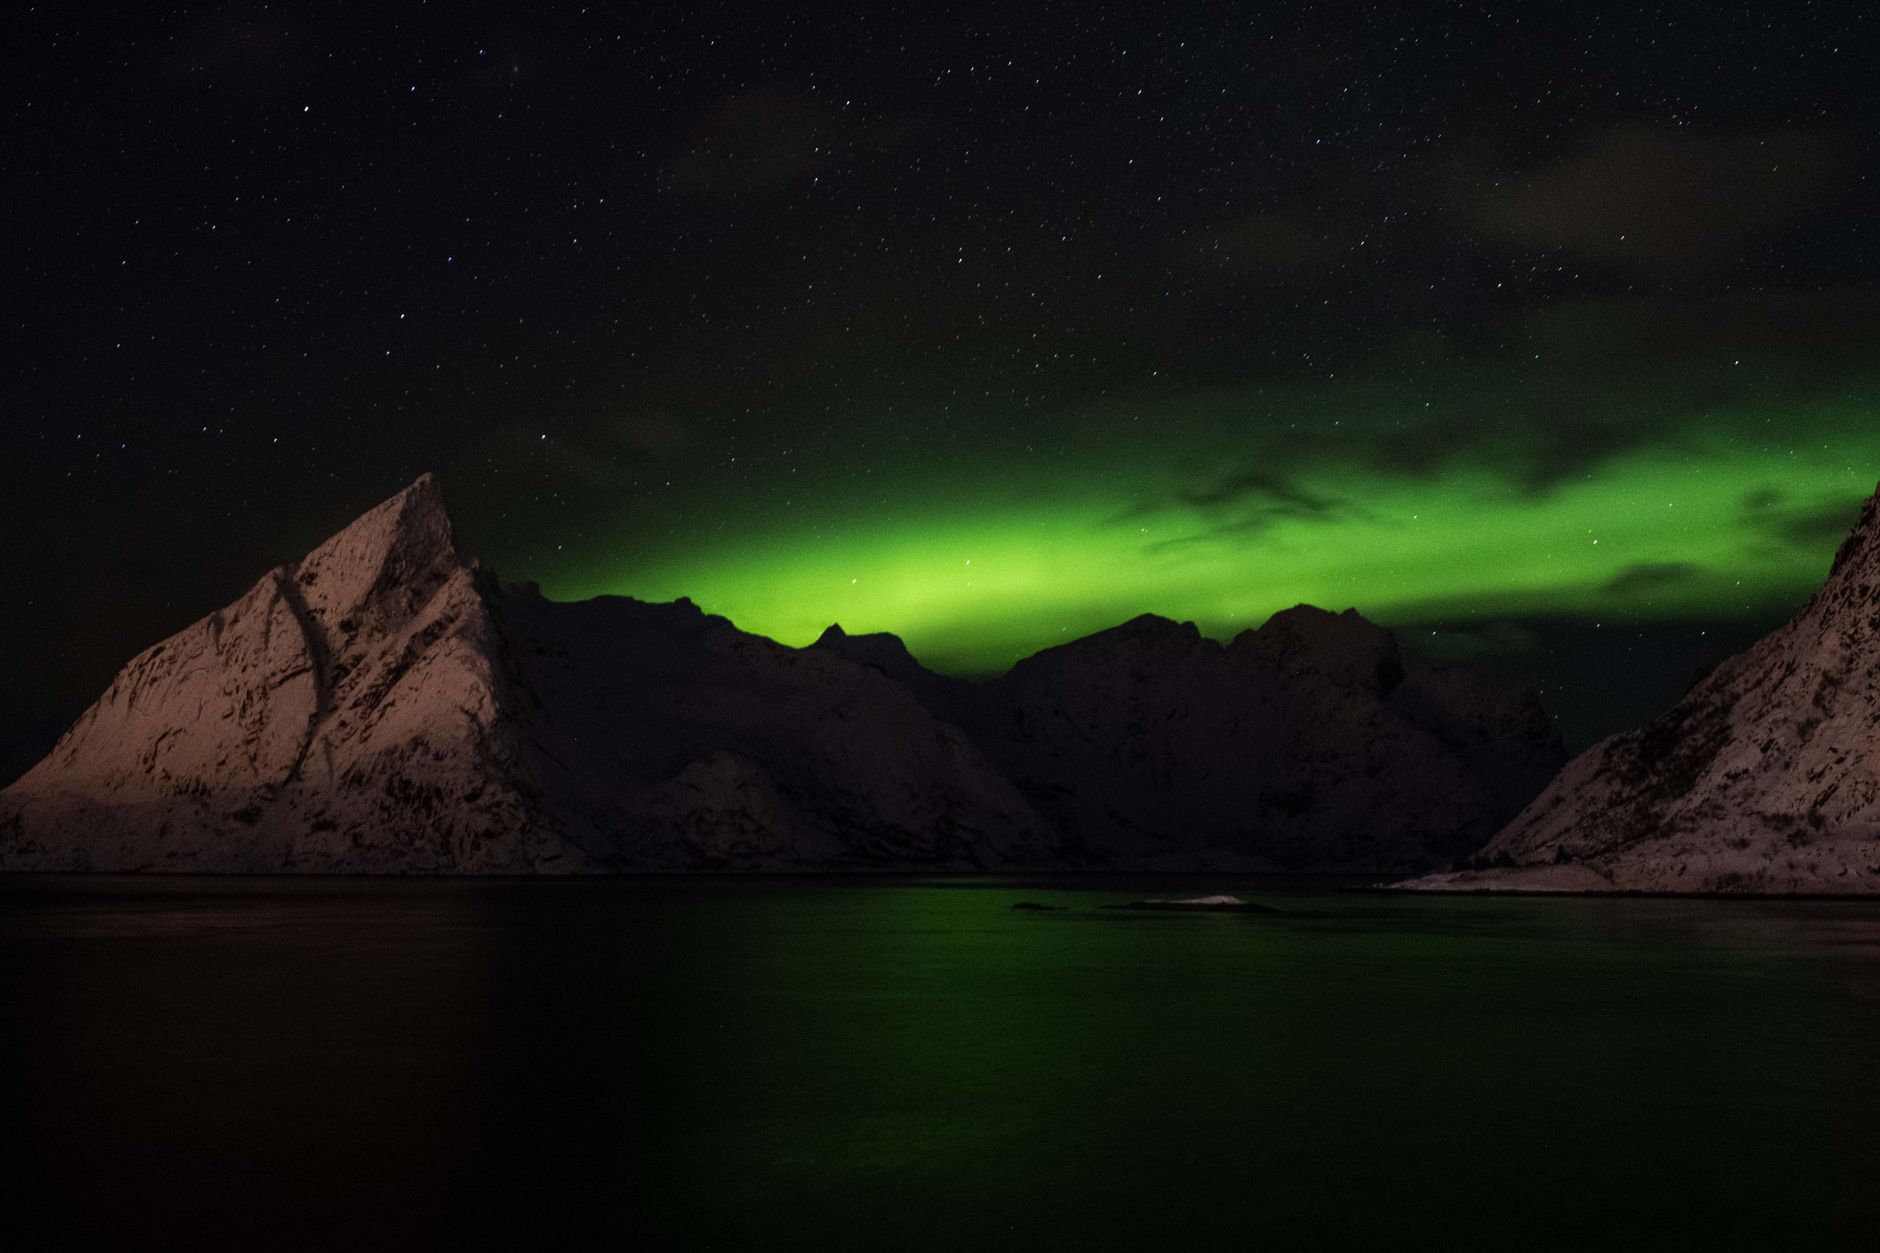
The 2026 aurora season is shaping up to be one of the most active in over a decade. Solar Cycle 25’s peak activity continues to send powerful coronal mass ejections toward Earth, and photographers are reporting visible auroras as far south as Colorado, Germany, and even northern Japan. If you’ve been waiting for the right moment to chase the lights, this is it — but showing up with the wrong settings will leave you with blurry, noisy, or completely black frames. This guide breaks down the best camera settings for northern lights photography so you can walk away from any aurora display with images worth printing.
Why Northern Lights Settings Are Different From Regular Night Photography
A lot of photographers assume aurora shooting is just “astrophotography with color.” It’s not. The aurora moves — sometimes slowly, sometimes in rapid, dancing curtains that shift shape every few seconds. That motion changes everything about how you set up your camera.
With standard Milky Way photography, you can comfortably shoot 20- to 30-second exposures because stars are effectively stationary (or at least predictable). The aurora, on the other hand, demands a constant balancing act between gathering enough light and freezing the motion of those green, purple, and red curtains.
Here’s the core challenge: you need a fast enough shutter speed to capture structure and detail in the aurora’s shapes, but a slow enough shutter to let in adequate light. Add in the fact that you’re often shooting in temperatures well below freezing, and you have a scenario where preparation matters more than expensive gear.
The Best Camera Settings for Northern Lights Photography (Starting Point)
These are the settings I recommend as your baseline. You’ll adjust from here based on conditions, but this combination works for most moderate aurora displays:
- Shooting mode: Manual (M)
- Aperture: f/1.4 to f/2.8 (as wide as your lens allows)
- Shutter speed: 2 to 10 seconds
- ISO: 1600 to 6400
- Focus: Manual, set to infinity (then fine-tune)
- White balance: 3500K to 4000K
- Image format: RAW (always)
- Image stabilization: Off
- Long exposure noise reduction: Off
Let me break down why each of these matters and when to deviate.
Aperture: Go Wide or Go Home
Your aperture is the single most important setting for aurora work. You need the widest aperture your lens offers — ideally f/2.8 or wider. Lenses like the Sigma 14mm f/1.8 Art, the Sony 20mm f/1.8 G, or the Nikon Z 20mm f/1.8 S are aurora workhorses for a reason.
If your widest aperture is f/4, you can still capture auroras, but you’ll need to compensate with a higher ISO or longer shutter speed. Both come with trade-offs: higher ISO introduces more noise, and longer shutter speeds blur the aurora’s structure.
Shutter Speed: Match It to the Aurora’s Speed
This is where most beginners go wrong. They set a 25-second exposure because that’s what they use for stars, and the result is a soft, green smear with no definition.
- Slow, diffuse aurora (KP 2-3): 8 to 15 seconds works well
- Moderate, structured aurora (KP 4-5): 3 to 6 seconds captures curtain detail
- Fast, dancing aurora (KP 6+): 1 to 3 seconds, sometimes even faster
Watch the sky. If the aurora is visibly moving and changing shape, shorten your shutter speed. During a strong geomagnetic storm, I’ve shot at 1 second, f/1.8, ISO 6400 and still frozen beautiful structure.
ISO: Higher Than You Think
Modern full-frame cameras handle high ISO remarkably well. The Sony A7 IV, Nikon Z8, and Canon R6 Mark II all produce usable files at ISO 6400 and beyond. Don’t be afraid to push it.
Start at ISO 3200 as your baseline. If your histogram shows the image is underexposed (data bunched on the left), raise the ISO before lengthening the shutter speed. A slightly noisy image with sharp aurora structure is always better than a clean image with motion blur.
Focusing in the Dark: The Method That Actually Works
Autofocus is useless in aurora conditions. Even the best low-light AF systems in 2026 struggle when there’s nothing but darkness and faint green light. Here’s the reliable manual focus method:
- Find a bright star or distant light on your live view screen
- Zoom in digitally to 10x or 15x magnification
- Rotate the focus ring slowly until the star is at its smallest, sharpest point
- Lock it down — use gaffer’s tape on the focus ring if your lens doesn’t have a lock switch
- Take a test shot and zoom in on the playback to verify
One critical tip: if you’re using a lens with a focus-by-wire system (common on mirrorless), your focus may shift when you turn the camera off and on. Re-check your focus every time you power cycle the camera or change lenses.
Composition and Foreground: Don’t Just Point at the Sky
The most striking aurora photos include a compelling foreground. A snow-covered cabin, a jagged mountain ridge, a frozen lake with reflections — these elements transform a decent sky photo into a portfolio piece.
Scout your location during daylight. Identify foreground elements that face north (in the Northern Hemisphere) and plan your compositions before the sun goes down. When the aurora fires up at 1 AM, you don’t want to be stumbling around in the dark looking for a good angle.
For exposure balance, your foreground will be much darker than the sky. You have two options:
- Single exposure: Slightly overexpose the sky to retain foreground detail, then recover highlights in post
- Two exposures blended: One optimized for sky, one for foreground, merged in Photoshop or Lightroom
Cold Weather Practicalities That Affect Your Settings
Aurora photography means standing outside in temperatures that can hit -20°F (-29°C) or colder. Cold affects your gear and your settings in specific ways:
- Batteries drain fast. Carry at least three spares in an inside pocket close to your body heat. Swap them proactively, not when they die.
- Condensation kills. When you bring your camera inside, seal it in a ziplock bag first and let it warm up gradually. Skipping this step can damage your sensor and lens elements.
- LCD screens lie in the cold. Your preview will look brighter than the actual exposure. Trust your histogram, not your eyes.
- Touchscreens become unreliable with gloves. Learn your camera’s physical button layout before your trip.
Final Thoughts: Be Ready Before the Lights Appear
The best camera settings for northern lights photography aren’t a fixed formula — they’re a starting framework you adjust in real time based on the aurora’s intensity, speed, and the story you want to tell. Start with f/2.8, ISO 3200, and a 5-second exposure, then adapt from there.
The 2026 season is delivering extraordinary displays, and space weather forecasting apps like Aurora Alerts, SpaceWeatherLive, and My Aurora Forecast make it easier than ever to time your shoots. Set your camera up before it gets dark, tape your focus ring, and keep your spare batteries warm. When the sky explodes in green and violet, you’ll be ready to capture it — not fumbling with menus while the show passes you by.