
Best Camera Settings for Golden Hour Photography: The 2026 Guide to Nailing Warm, Glowing Shots Every Time
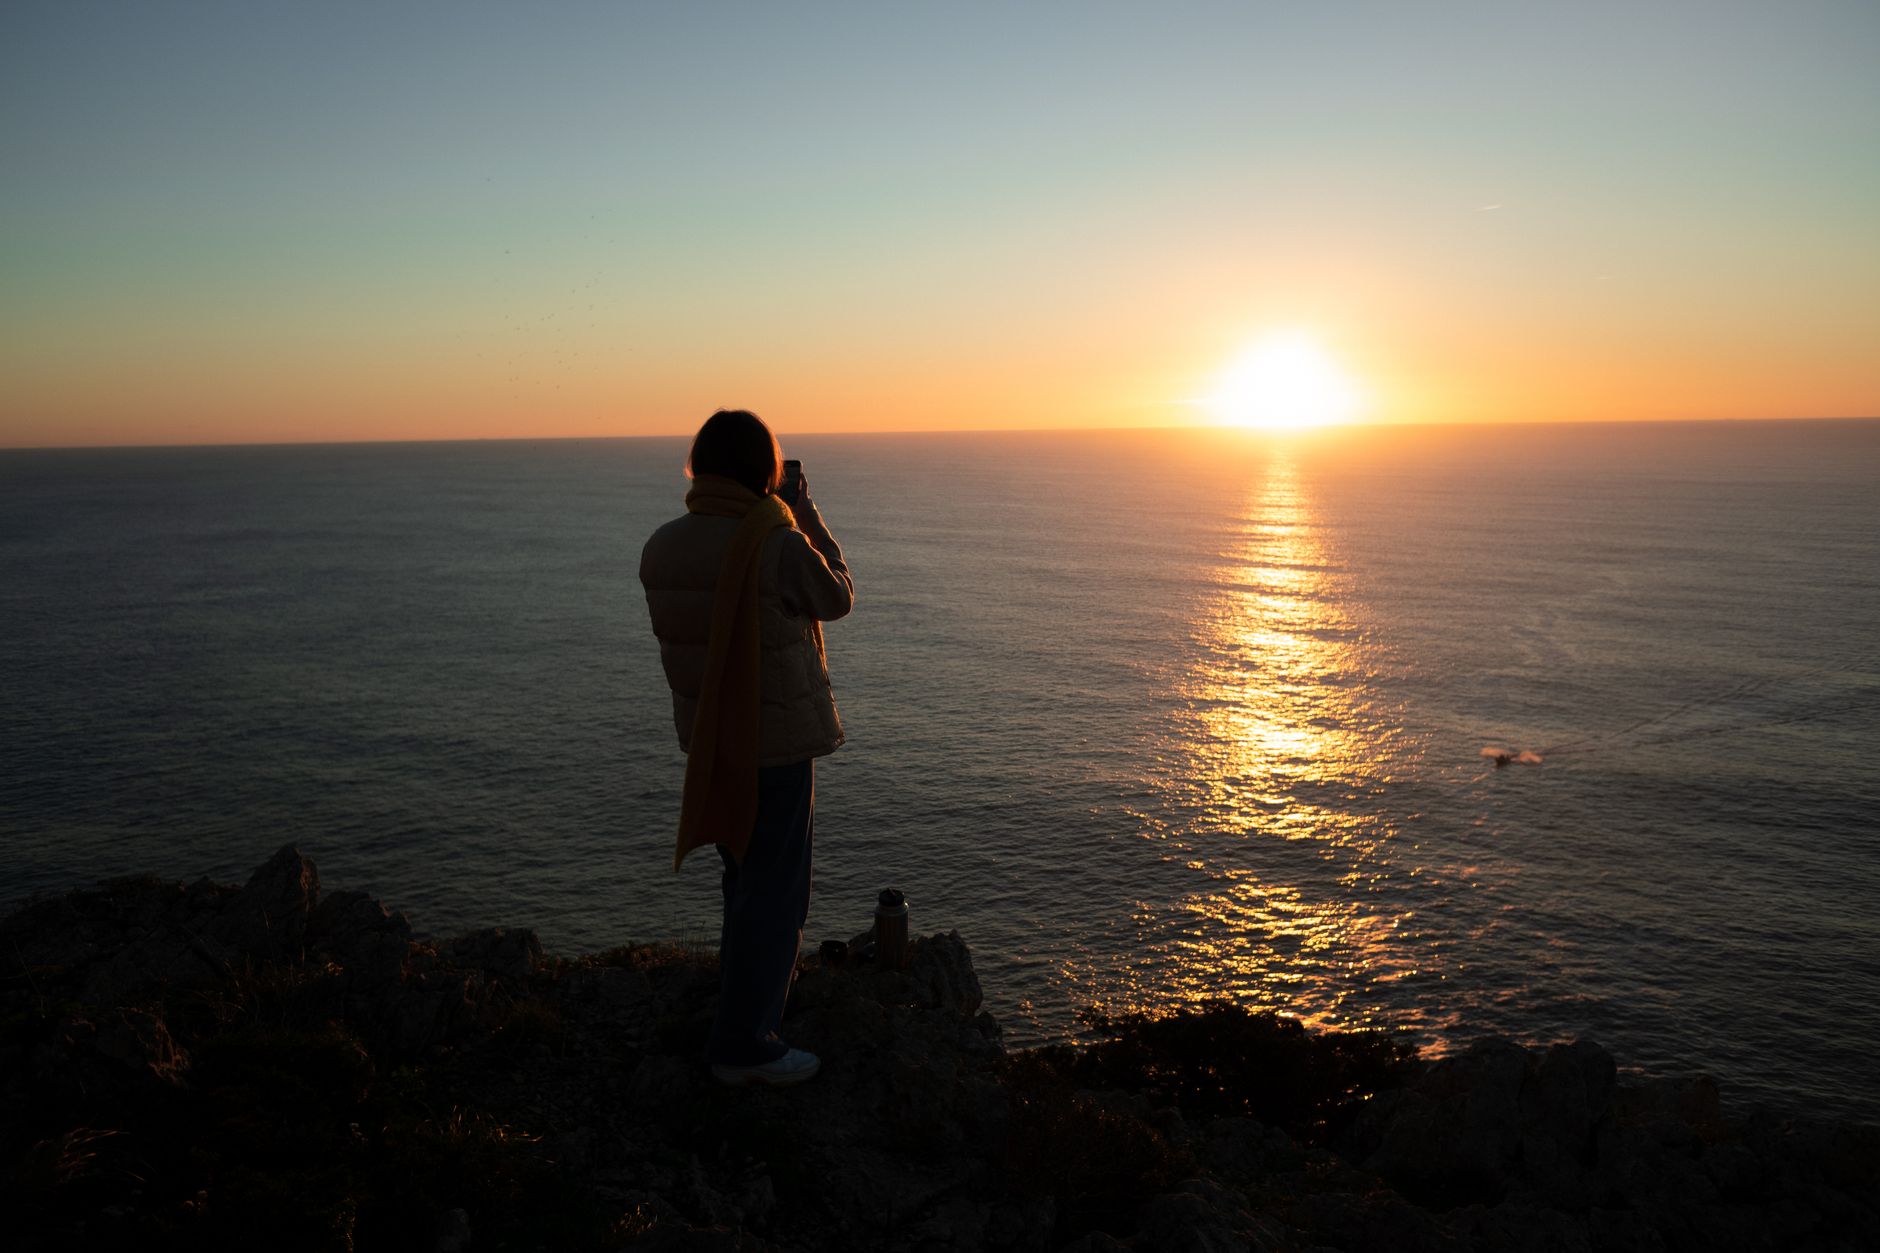
The photography world in 2026 is obsessed with one thing: authentic, unfiltered light. As AI-generated imagery floods social feeds, professional photographers and hobbyists alike are doubling down on capturing real, fleeting moments. Golden hour—that magical window shortly after sunrise and before sunset—has become the ultimate proving ground. Clients now specifically request “golden hour sessions” for everything from engagement shoots to product campaigns, and camera manufacturers like Canon and Sony have even added dedicated “Golden Hour Assist” modes to their latest firmware updates.
But here’s the truth most tutorials gloss over: golden hour light changes fast. You’ve got roughly 40-60 minutes of usable warm light, and within that window, the color temperature shifts dramatically from deep amber to soft peach. The best camera settings for golden hour photography aren’t static numbers you memorize—they’re a responsive system you adapt in real time. This guide gives you that system.
Why Golden Hour Is Tricky (And What Most Photographers Get Wrong)
Golden hour looks effortless in the final image, but it’s actually one of the most technically demanding lighting scenarios. The extreme dynamic range between sunlit highlights and shadow areas can fool your camera’s meter. Your auto white balance will often “correct” the warm tones you actually want to preserve. And that dreamy backlighting everyone loves? It can leave your subject’s face completely underexposed if you trust default settings.
The biggest mistake I see in 2026 is photographers shooting golden hour with the same settings they’d use at midday. Golden hour demands intentional underexposure of the sky, strategic white balance manipulation, and aperture choices that balance subject isolation with environmental context. Let’s break down the exact settings that solve these challenges.
The Core Settings: Aperture, Shutter Speed, and ISO
Aperture: f/2.8 to f/5.6 for Portraits, f/8 to f/11 for Landscapes
For golden hour portraits, I typically start at f/2.8 if I’m using a prime lens. This gives you that creamy background separation while still keeping both eyes sharp when your subject is roughly 6-8 feet away. The warm light at this hour actually helps your autofocus performance compared to harsh midday contrast.
For environmental portraits or couples shots where you want the sunset visible, stop down to f/4 or f/5.6. This maintains subject sharpness while rendering the sky with enough detail to read as golden hour, not just “warm light.”
Landscape photographers during golden hour should consider f/8 to f/11 for maximum depth of field, but don’t automatically default to f/16. Diffraction starts creeping in on high-resolution sensors, and you often want some softness in the extreme foreground to emphasize the dreamy quality of the light.
Shutter Speed: 1/125s Minimum for Handheld, Longer for Creative Motion
Golden hour light is significantly dimmer than midday—often 3-4 stops less. This means your shutter speed drops fast. For handheld portraits with an 85mm lens, 1/125s is my absolute minimum to avoid camera shake. If I’m at f/2.8 and 1/125s isn’t giving me proper exposure, I’ll raise ISO rather than risk motion blur.
Here’s where it gets creative: that “dim” light is actually perfect for intentional motion blur. 1/15s to 1/30s with a stabilized lens can produce gorgeous results—flowing dresses, blurred ocean waves, or light trails from passing cars that blend with the warm sky. Use a tripod or your camera’s IBIS (in-body image stabilization) for these shots.
ISO: Start at 400, Embrace 1600+ Without Fear
In 2026, modern mirrorless cameras handle high ISO with remarkable cleanliness. I begin golden hour sessions at ISO 400 and expect to reach ISO 800-1600 within 20 minutes as the sun dips lower. On cameras like the Sony A7 IV or Canon R6 Mark II, ISO 3200 during late golden hour produces files that clean up beautifully in post-processing.
The key is not letting your camera auto-ISO climb to 6400+ without your knowledge. Set a maximum ISO limit of 3200 or 6400 depending on your camera’s sensor performance, then manually adjust as needed.
White Balance and Color Temperature: Protecting the Warmth
This is where the best camera settings for golden hour photography diverge most from standard advice. Your camera’s auto white balance (AWB) will see all that orange and try to neutralize it, leaving you with flat, grayish results.
Set your white balance to “Cloudy” (approximately 6000K) or “Shade” (approximately 7500K) as a starting point. Better yet, use manual Kelvin temperature. I typically begin golden hour at 5600K and gradually shift warmer to 6500K as the sun approaches the horizon. This preserves the amber tones while keeping skin tones from going too orange.
If you’re shooting RAW, you have flexibility in post, but getting it closer in-camera helps your preview and client proofs look intentional immediately.
For Fujifilm shooters, the 2026 film simulations pair beautifully with golden hour. Astia/Soft or Classic Chrome with color set to +2 and white balance shifted toward red/yellow gives you a stunning starting point that needs minimal editing.
Metering Mode and Exposure Compensation: The Secret to Dramatic Skies
Your camera’s evaluative/matrix metering sees that bright sky and will underexpose your subject, or sees the subject and blows out the sky. Neither works.
Switch to spot metering and meter off your subject’s skin, typically the cheek. Then use exposure compensation of -0.7 to -1.3 EV to retain detail in the brightest parts of the sky. This sounds counterintuitive, but modern sensors have incredible shadow recovery. You can lift the subject’s exposure in post while protecting those sunset highlights that are impossible to recover if clipped.
Alternatively, expose for the sky and use fill light—a reflector, off-camera flash, or even your phone’s flashlight in a pinch. In 2026, the Profoto C1 Plus and similar compact strobes have become popular for exactly this: adding just enough fill to balance golden hour backlight without destroying the natural mood.
Focus Strategy: When Backlight Fights Your AF
Golden hour backlighting is gorgeous but can confuse autofocus systems. The low contrast on your subject’s face when they’re backlit causes hunting, especially as light levels drop.
Three solutions that work in 2026:
- Use face/eye detection AF and place your focus point slightly toward the brighter side of the face if possible
- Add subtle fill (even a white shirt held by an assistant) to give the AF system contrast to grab
- Switch to manual focus with focus peaking for critical shots, especially with adapted vintage lenses that many photographers are embracing for their unique golden hour rendering
If your camera has subject detection for animals or vehicles, don’t dismiss it—modern AI AF can track a running dog against a blazing sunset better than many traditional systems.
The Final 10 Minutes: Blue Hour Transition
The “official” golden hour ends when the sun drops below the horizon, but the best camera settings for golden hour photography actually extend into the transition. That 10-15 minute window where warm sky meets cool blue tones creates some of the most striking images of the session.
Shift your white balance back toward neutral (5200-5600K) to emphasize the color contrast rather than letting everything go warm. Open to your widest aperture and embrace the ISO climb to 3200+. The light is fading fast, but the atmospheric quality is unmatched.
Conclusion: Build Your Golden Hour System
The best camera settings for golden hour photography aren’t about memorizing numbers—they’re about building a responsive workflow. Start with f/2.8-f/5.6, 1/125s minimum, ISO 400-1600, manual or Cloudy white balance, spot metering with -0.7 to -1.3 EV compensation, then adapt as the light evolves.
In 2026, as photographers push back against AI-generated perfection, the ability to capture genuine, fleeting natural light has become a genuine competitive advantage. Golden hour isn’t just beautiful—it’s proof of real-world skill. The photographers who master these settings, who can work quickly and intuitively as the light transforms, are the ones landing the premium bookings and building audiences that value authenticity.
Grab your camera this evening. The settings above are your starting point. The magic happens when you stop thinking about numbers and start responding to what the light is actually doing—minute by minute, shot by shot.