
Best Camera Settings for Astrophotography Beginners: The 2026 Milky Way Season Starts Now
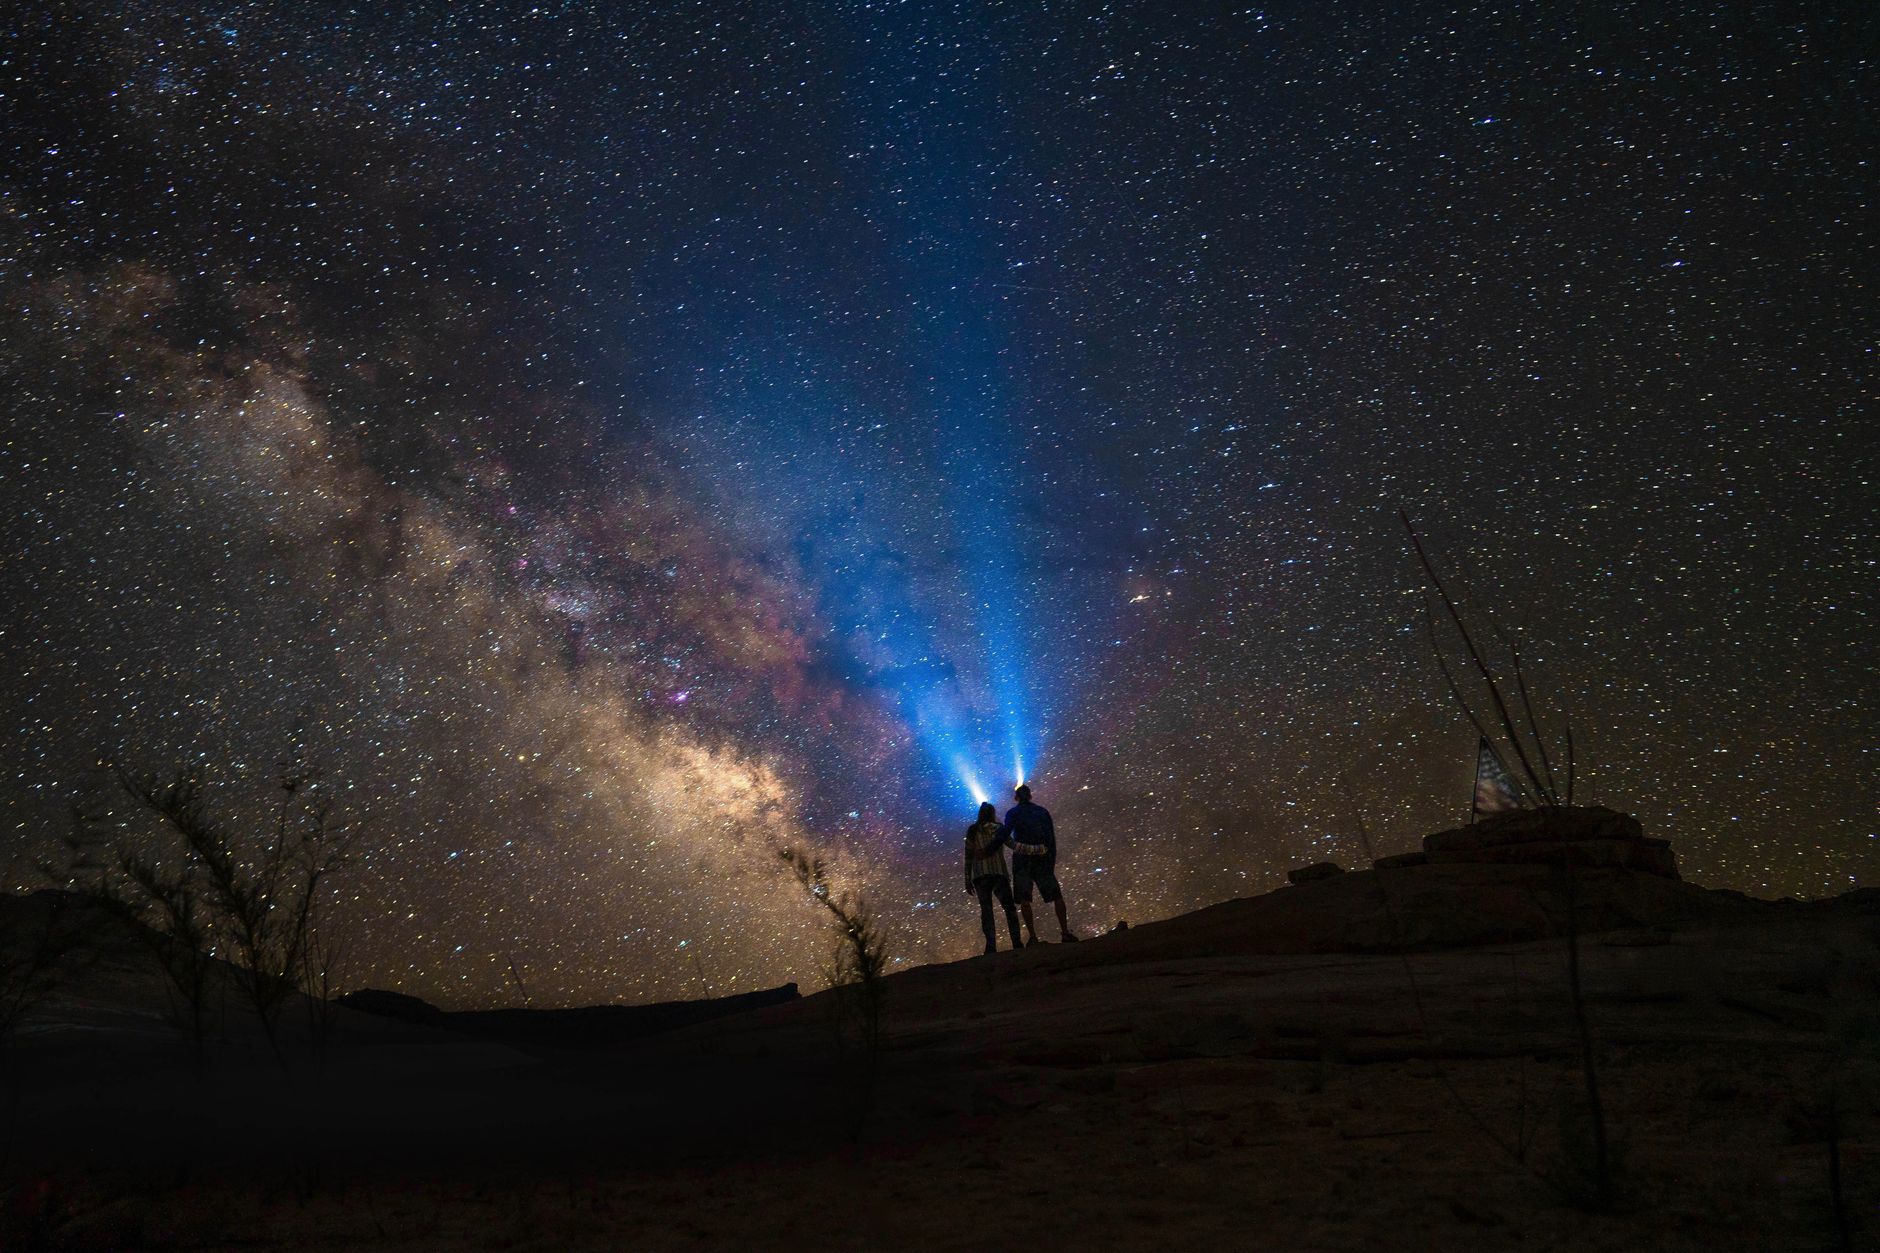
The 2026 Perseid meteor shower just peaked in mid-August, and if you missed the show, don’t worry—the Milky Way season is still in full swing through October. Nikon just dropped the Z6 III with a partially-stacked sensor that’s turning heads in astro circles, and Sony’s rumored a7S IV is expected to push ISO performance even further this fall. But here’s the truth: you don’t need a $3,000 body to capture stunning star fields. What you actually need are the best camera settings for astrophotography beginners—the specific numbers that separate blurry, noisy disappointments from wall-worthy night sky images.
This guide gives you those exact settings, explains why they work, and shows you how to adapt them for your specific gear.
Why Astro Settings Break Every “Rule” You’ve Learned
Daytime photography teaches you to keep ISO low, use fast shutter speeds, and stop down for sharpness. Astrophotography flips all of this on its head. You’re shooting in near-total darkness, tracking points of light that are moving across your frame (thanks to Earth’s rotation), and trying to extract detail from shadows without drowning in noise.
The best camera settings for astrophotography beginners prioritize three things: maximum light gathering, controlled star movement, and noise management. Getting this balance right means understanding the exposure triangle as it applies specifically to the night sky—not landscapes, not portraits, not street scenes.
Your starting point should always be manual mode. Auto exposure fails completely in darkness, and even “night modes” on newer cameras typically prioritize hand-held shooting with aggressive noise reduction that smears star detail into watercolor mush.
The Core Settings: Your Astrophotography Foundation
Here’s the baseline configuration that works across mirrorless and DSLR systems from entry-level to professional:
Aperture: Wide open, or within one stop of your lens’s maximum. If you have an f/2.8 lens, shoot at f/2.8 or f/4. Never stop down to f/8 or f/11 like you would for landscapes. You need every photon.
Shutter Speed: 15-25 seconds for most focal lengths. The classic “500 Rule” (500 divided by focal length equals maximum seconds before star trailing) is outdated for modern high-resolution sensors. Use the NPF Rule for sharper results: divide 500 by (focal length × 1.5 for APS-C, or × 1.0 for full-frame), then subtract 10-15%. For a 20mm full-frame lens, that gives you roughly 20 seconds. For a 35mm lens, drop to 10-12 seconds.
ISO: 3200-6400 for most modern cameras. This is where beginners panic, but high ISO is essential. The goal isn’t zero noise—it’s optimal signal-to-noise ratio. A properly exposed image at ISO 6400 contains less visible noise than an underexposed image pushed in post from ISO 1600.
White Balance: 4000-4500K, or use “Daylight” preset. Auto white balance often creates inconsistent orange or green casts. Shoot RAW and you can adjust later, but starting with a neutral base helps with previewing composition.
Focus: Manual focus, infinity, then back slightly. Use live view at maximum magnification on a bright star, or focus on a distant light during twilight and lock it. Tape your focus ring down once set—temperature drops can shift focus through the night.
Adapting for Your Specific Camera and Lens
Not everyone shoots with a $2,000 astro-modified full-frame body. Here’s how to adjust the best camera settings for astrophotography beginners for common gear scenarios:
Entry-level APS-C (Canon R50, Sony a6100, Nikon Z50): Your smaller sensor gathers less light, so push ISO to 6400-12800 and accept more noise. Use shorter focal lengths (10-16mm equivalent) to maximize exposure time before trailing. The R50’s excellent DIGIC X processing handles high ISO surprisingly well for its class.
Micro Four Thirds (OM System OM-5, Panasonic GH6): Compensate for the 2x crop factor with ultra-wide lenses. The 8mm Laowa or Olympus 7-14mm f/2.8 are ideal. Keep shutter speeds to 10 seconds maximum at 12mm equivalent. Use in-camera noise reduction cautiously—long exposure NR doubles your wait time between shots and can drain batteries in cold nights.
Smartphone shooters (iPhone 16 Pro, Galaxy S25 Ultra): Use dedicated night/astro modes rather than manual apps. The computational stacking these devices perform often outperforms single-frame attempts. For iPhone, the “Night Mode” cap at 30 seconds only activates on a tripod—use a compact Joby GripTight and point it toward the galactic core.
Zoom lenses with variable apertures (kit 18-55mm f/3.5-5.6): Shoot at your widest focal length and widest aperture. At 18mm f/3.5, you can manage 20 seconds before trailing. ISO will need to push to 12800, so shoot multiple frames for later stacking in Sequator or Starry Landscape Stacker.
The 2026 Gear Shifts Worth Knowing
This year’s equipment landscape changes what “beginner” astrophotography looks like:
-
Star trackers are now genuinely affordable. The Move Shoot Move rotator and Sky-Watcher Star Adventurer Mini both run under $150 and allow 2-3 minute exposures at moderate focal lengths. If you’re even semi-serious, this upgrades your results more than any camera body swap.
-
Light pollution filters have evolved. The new Optolong L-Pro and Hoya Starscape filters cut sodium and mercury vapor wavelengths without the extreme color casts of older designs. Essential if you’re shooting within 50 miles of any city.
-
AI noise reduction in-camera is getting usable. Canon’s neural network noise reduction in the R6 II and R5 II, plus Sony’s equivalent in recent firmware, can clean high-ISO files with less star damage than traditional algorithms. Still, shoot RAW and apply selectively in post rather than baking it in.
Common Beginner Mistakes That Ruin Night Shots
Even with the best camera settings for astrophotography beginners, technique errors kill images:
-
Forgetting the dew heater. As temperatures drop, lens condensation forms within 30-60 minutes. A $20 USB dew heater strap prevents this completely. Without it, you’ll watch sharp stars dissolve into soft halos.
-
Over-relying on long exposure noise reduction. This dark-frame subtraction helps with hot pixels but doubles your capture time. For time-lapses or meteor shower sequences, keep it off. For single Milky Way portraits, use it sparingly.
-
Shooting too early in the night. The galactic core is only visible during specific months and hours. In August 2026, it’s optimally positioned from approximately 10 PM to 2 AM in the Northern Hemisphere. Use apps like PhotoPills or Stellarium to plan—don’t just wander outside at midnight hoping.
-
Ignoring foreground composition. Stars alone are scientifically interesting but visually flat. Include a tree silhouette, mountain ridge, or tent with headlamp for scale and narrative. Light your foreground separately with a dim, warm LED panel or capture it during blue hour and blend.
Building Your First Successful Astro Session
Tonight’s actionable plan: arrive at your location during twilight to scout and focus. Set up with the galactic core visible (southeast to southwest depending on hour and season). Configure your baseline settings, capture 10-15 identical frames for stacking, and include 5-10 dark frames (lens cap on, same settings) for noise calibration.
Process in free software first—Sequator for Windows or Starry Landscape Stacker for Mac—before investing in PixInsight. Stack your light frames, apply your darks, then bring the resulting TIFF into Lightroom or your preferred editor for final contrast and color adjustments.
The best camera settings for astrophotography beginners aren’t about perfection on your first attempt. They’re about giving you a reliable starting point that produces recognizable, encouraging results—images good enough to motivate your next midnight expedition. The 2026 Milky Way season waits for no one. Charge your batteries, check the moon phase, and get under the stars this week.