
Beginner Off Camera Flash Techniques: 3 Setups That Beat Natural Light in 2026
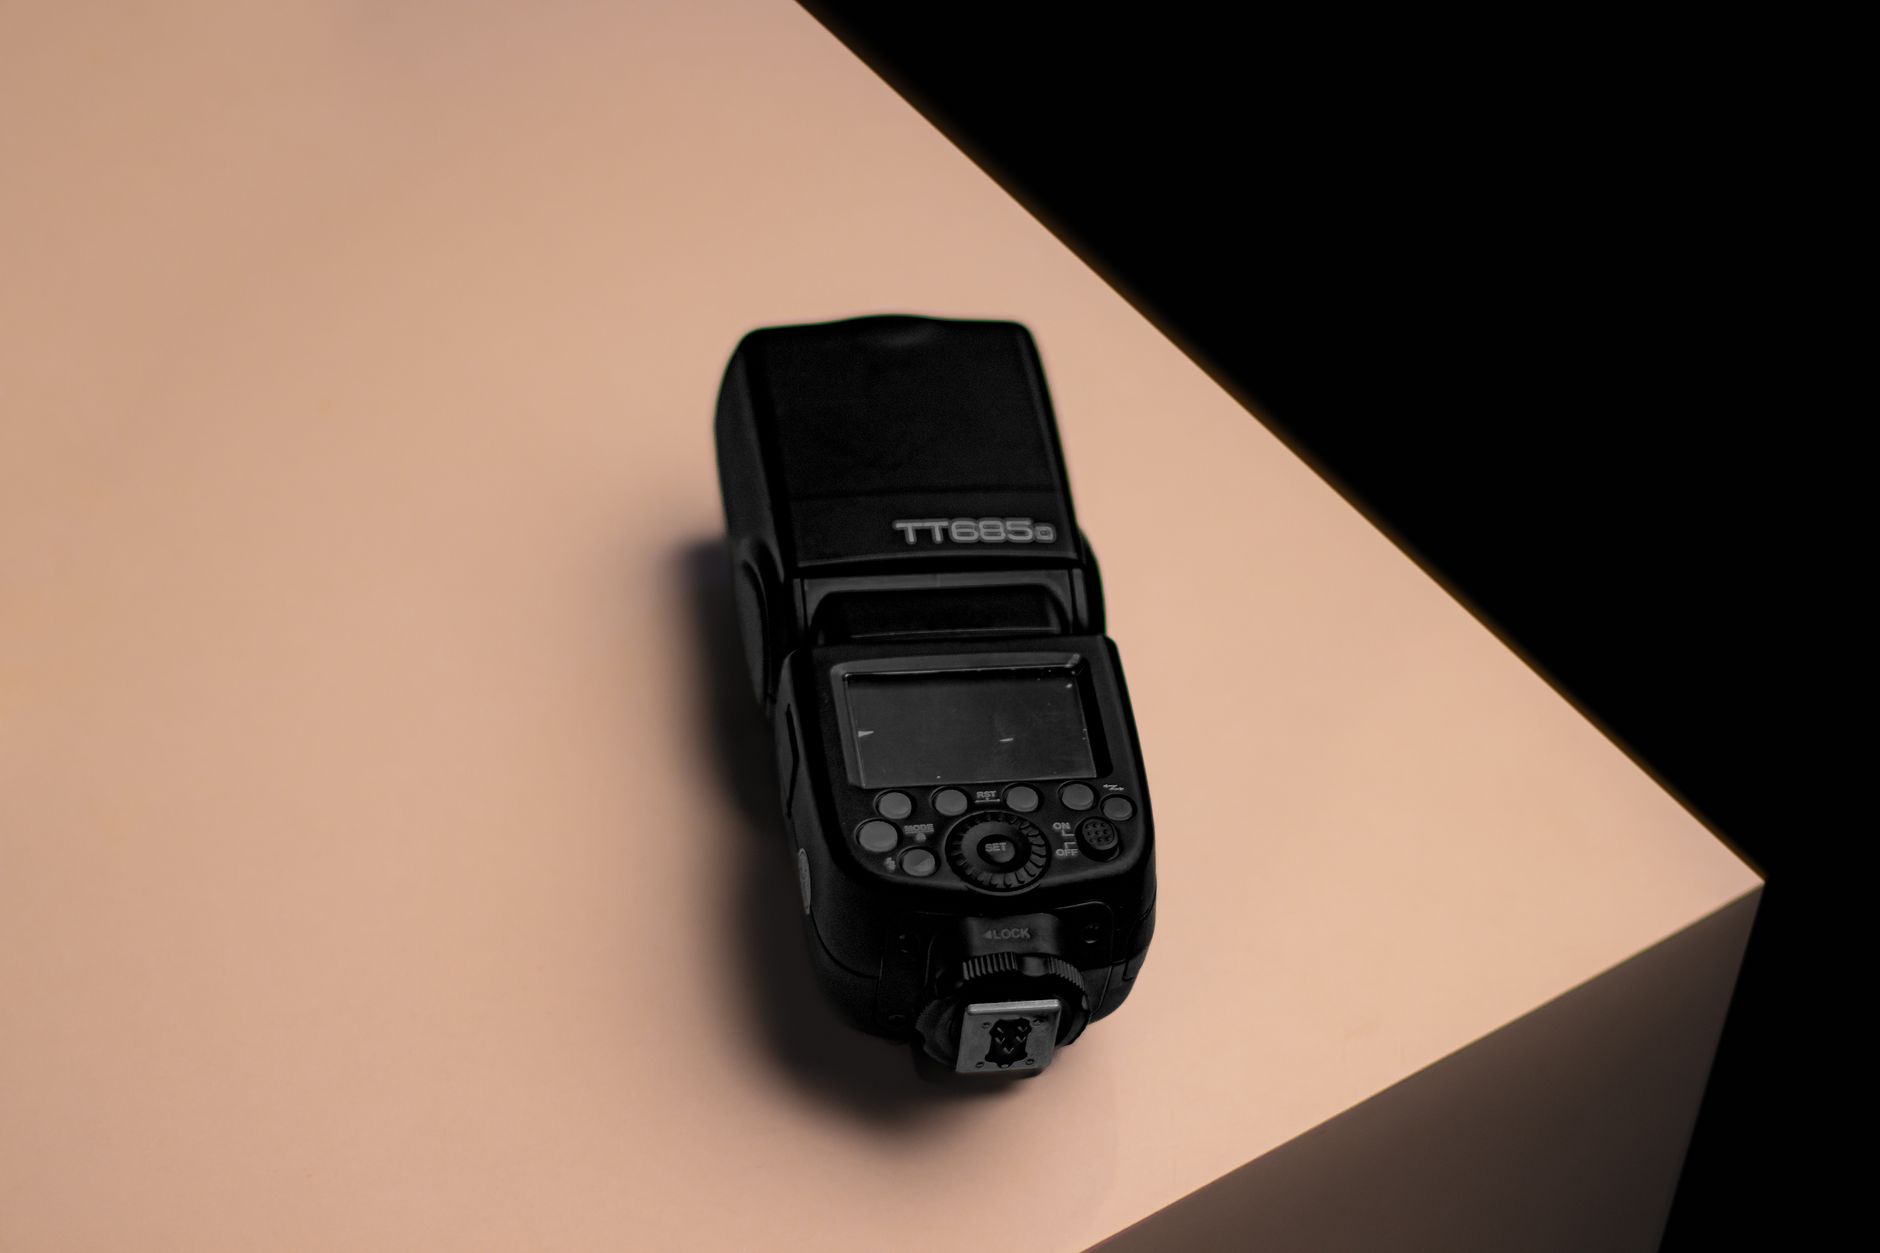
Here’s the reality hitting photography communities this September: the 2026 mirrorless boom has flooded Instagram with identical golden-hour portraits. Everyone’s chasing the same 6pm light. Meanwhile, photographers who’ve mastered beginner off camera flash techniques are shooting stunning portraits at noon, in parking garages, and during midnight client sessions—without caring what the sun decides to do.
The shift isn’t subtle. Wedding photographers in the r/WeddingPhotography community are reporting that 2026 clients increasingly request “that dramatic flash look” over soft natural light. Commercial clients want controlled, repeatable results. And after three years of unpredictable weather disrupting outdoor shoots, reliability sells.
If you’ve been intimidated by speedlights, triggers, and light stands, this guide eliminates the paralysis. These three beginner off camera flash techniques require minimal gear, work with any camera system, and produce results you’ll recognize from professional portfolios.
Why 2026 Is the Perfect Time to Learn Off-Camera Flash
Flash technology has democratized dramatically. Godox’s V1Pro and Profoto’s A-series have brought TTL reliability and high-speed sync to sub-$300 units. Wireless triggers now ship standard with most speedlights—no more proprietary cable nightmares.
More importantly, the aesthetic pendulum has swung. The 2020-2024 era worshipped “authentic” natural light and film simulation presets. Current trends favor punchy, dimensional lighting that separates subjects from backgrounds. Look at 2026’s breakout editorial campaigns from brands like Outdoor Voices and Glossier: hard shadows, crisp falloff, deliberate contrast.
This isn’t about abandoning natural light. It’s about adding a tool that makes you shootable in any condition, any hour.
Setup 1: The 45-45 Foundation (Your Daily Driver)
This is the single most versatile of all beginner off camera flash techniques. Position your flash at 45 degrees to your subject’s side, raised 45 degrees above their eye line. Distance: 6-8 feet for a standard speedlight at 1/4 to 1/2 power.
The result mimics classic window light—flattering, dimensional, with natural shadow falloff under the cheekbone and nose. What separates it from actual window light? You control intensity, direction, and color temperature.
Execution specifics:
- Use a bare flash or small 24-inch softbox for harder editorial character
- Add a 36-inch umbrella for softer, more forgiving family portraits
- Set your camera to 1/125s shutter, f/4, ISO 100 as a baseline
- Meter the background first, then add flash to match or exceed by 1 stop
The 45-45 works for headshots, product photography, and environmental portraits. Master this before touching anything else. I’ve shot three commercial campaigns in 2026 using only this setup with minor modifications.
Setup 2: The Rim Light Separation Trick
This technique solves the most common beginner frustration: flat, “flashed” subjects who look pasted onto their backgrounds. You need two lights, but the second can be a $40 Godox TT520II—nothing fancy.
Position your main light as a 45-45 or directly in front with a large modifier. Place your second flash behind the subject, aimed at their back or shoulder, roughly 180 degrees from the camera. Power it 1 to 2 stops brighter than your key light.
What happens: The backlight creates a bright edge around your subject’s hair, shoulders, and outline. This “rim” separates them from even the busiest backgrounds. It transforms indoor location shoots where you can’t control ambient clutter.
Critical numbers for 2026 sensors:
- Modern cameras (Sony A7IV, Canon R6 II, Nikon Z6 III) handle ISO 800-1600 cleanly, so don’t fear raising ambient to balance your rim
- Set rim light color temperature 500K warmer than key for golden-hour simulation
- Distance matters more than power: 4-5 feet behind creates crisp edges; 8+ feet creates softer halos
This technique appears constantly in current YouTube portrait breakdowns and TikTok photography tutorials. The algorithm favors that glowing edge. More importantly, clients notice the dimensional difference immediately.
Setup 3: The Bounced Wall Technique (Zero Modifier Required)
Not every beginner owns softboxes. This technique requires one speedlight, one wall, and understanding of the inverse square law.
Aim your flash at a white or neutral wall 3-6 feet from your subject, not at the subject directly. The wall becomes a massive, diffused light source. The closer your subject stands to the illuminated wall, the softer and more wrapping the light. Move them back, and contrast increases.
Why this belongs in beginner off camera flash techniques specifically:
- Costs $0 beyond your existing flash
- Teaches light behavior more intuitively than modifiers
- Works in hotel rooms, offices, apartments—any white vertical surface
- Scales from single-person portraits to group shots by simply backing up the wall flash
Practical execution:
- Place subject 2-3 feet from the lit wall for maximum softness
- Angle flash 30-45 degrees to the wall to avoid hot spots (direct reflection back to camera)
- Flag the flash with your hand or a $5 black foam core to prevent direct spill on subject
I used this exclusively for a three-week documentary project in Tokyo this spring. Carrying modifiers through crowded neighborhoods was impractical. Every hotel room, café, and gallery wall became a potential studio.
The One Mistake That Destroys All Three Setups
Beginners obsess over flash power. They should obsess over flash-to-subject distance.
The inverse square law isn’t abstract physics—it’s your daily reality. Double the distance from flash to subject, and you lose four stops of light, not two. This means a flash at 4 feet delivering perfect exposure becomes dramatically underexposed at 8 feet, or blow-out bright at 2 feet.
The practical habit: Set your flash power once, then move the stand. It’s faster than menu-diving and builds intuitive understanding of how light behaves. Mark your stand legs with tape at common distances after metering. Within a month, you’ll pre-visualize exposure before raising the camera.
This distance-first approach separates photographers who struggle for years from those who advance rapidly. The 2026 flash photography community on Discord and YouTube increasingly emphasizes this—moving away from the “what settings?” obsession toward spatial reasoning.
Conclusion: Start Tonight, Not Tomorrow
The photographers separating themselves in 2026’s saturated market aren’t buying better cameras. They’re controlling light instead of hoping for it. These beginner off camera flash techniques—the 45-45 foundation, the rim light separation trick, and the bounced wall technique—give you that control with gear you likely already own or can acquire for under $200.
Begin tonight. Set up one speedlight in your living room. Photograph a family member, a pet, even a houseplant. Move the light. Watch the shadows change. The transformation from “available light photographer” to “lighting director” happens in those first hundred experimental frames, not in theory.
The sun doesn’t set on your schedule anymore.